
 we're online
Outdoor Neon Sign Installation Guide: 5 Steps for Safe Mounting
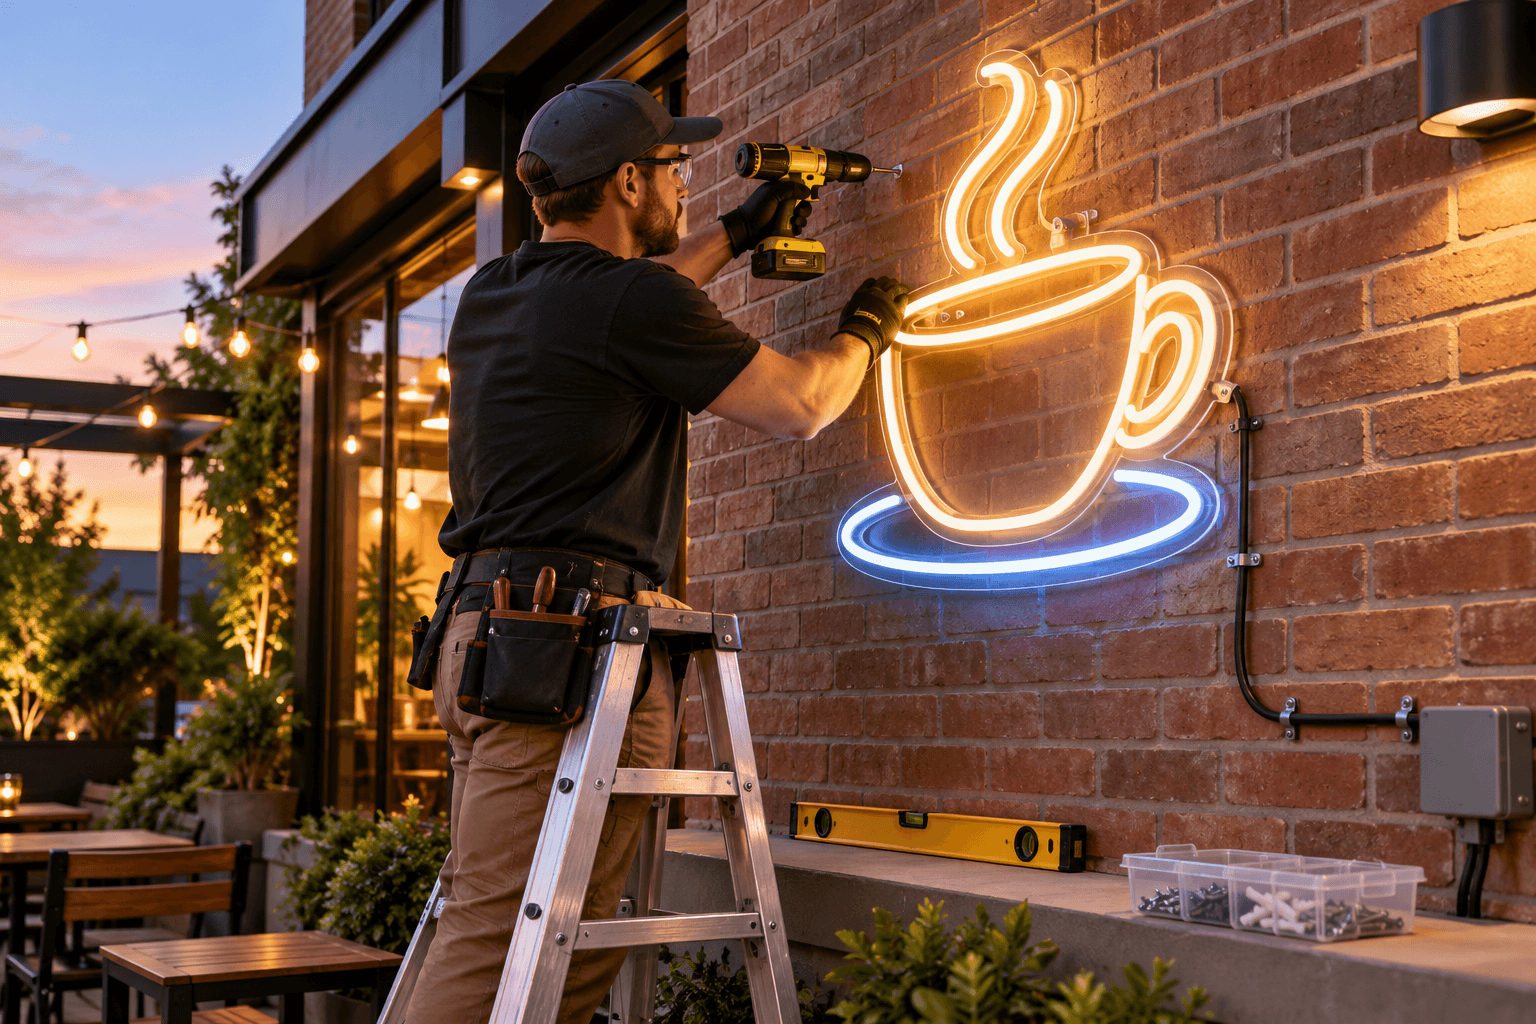
Installing an outdoor neon sign starts before you pick up a drill. The sign must be approved for the location, the wall must support its weight, and the power setup must be protected from water. This guide explains the steps for mounting an outdoor LED neon sign and the checks that help prevent damage.
Quick answer: Confirm outdoor suitability and component ratings; choose a solid wall and weather-appropriate hardware; mark and mount the sign; connect it to a protected power source; then test the lighting and fix cables in place. Hire a qualified installer for high, heavy, or electrically complex installations.
Before You Install: Check Your Neon Sign and Location
Do not assume a sign made for indoor use can be hung outside. Ask the supplier to confirm the permitted exposure for the LED tubing, acrylic backing, power adapter, controller, connectors, and cables.
A rating stated for the illuminated section may not apply to the full assembly. Check any local signage rules and obtain property permission where required.
|
Installation check |
What to confirm |
|
Weather |
Covered, wind-driven rain, direct rain, sprinklers, and runoff |
|
Wall |
Sound brick, concrete, solid wood, stucco substrate, or approved frame |
|
Power |
Protected outdoor receptacle and suitable adapter placement |
|
Hardware |
Fastener type and load capacity match the sign and mounting surface |
|
Access |
Safe ladder access and enough room to handle the sign |
Tools and Supplies for Outdoor Neon Sign Installation
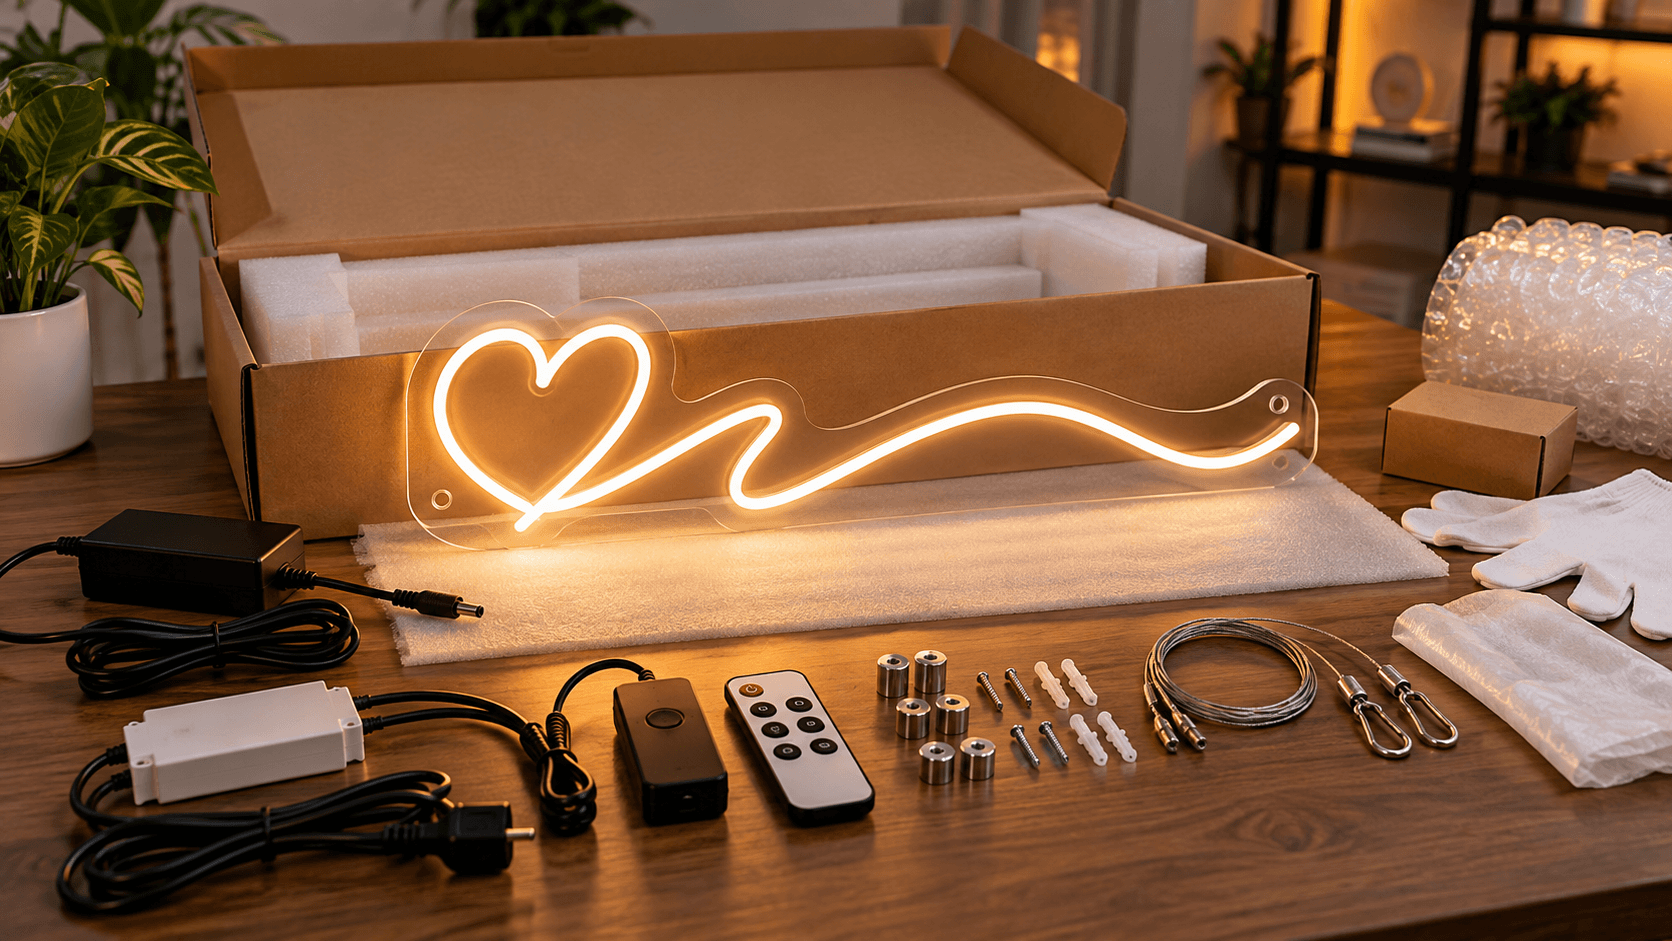
- Measuring tape, pencil, and level
- Drill and drill bit designed for the surface
- Load-rated anchors, exterior-suitable screws, and any supplied standoffs
- Screwdriver and a stable ladder used according to its instructions
- Outdoor-appropriate cable clips and a protected power source
The supplied mounting kit is not automatically suitable for every exterior wall. Inspect the sign and accessories for cracks, damage, or loose wiring before starting. If the mounting method or weight limit is unclear, ask the manufacturer or an installer.
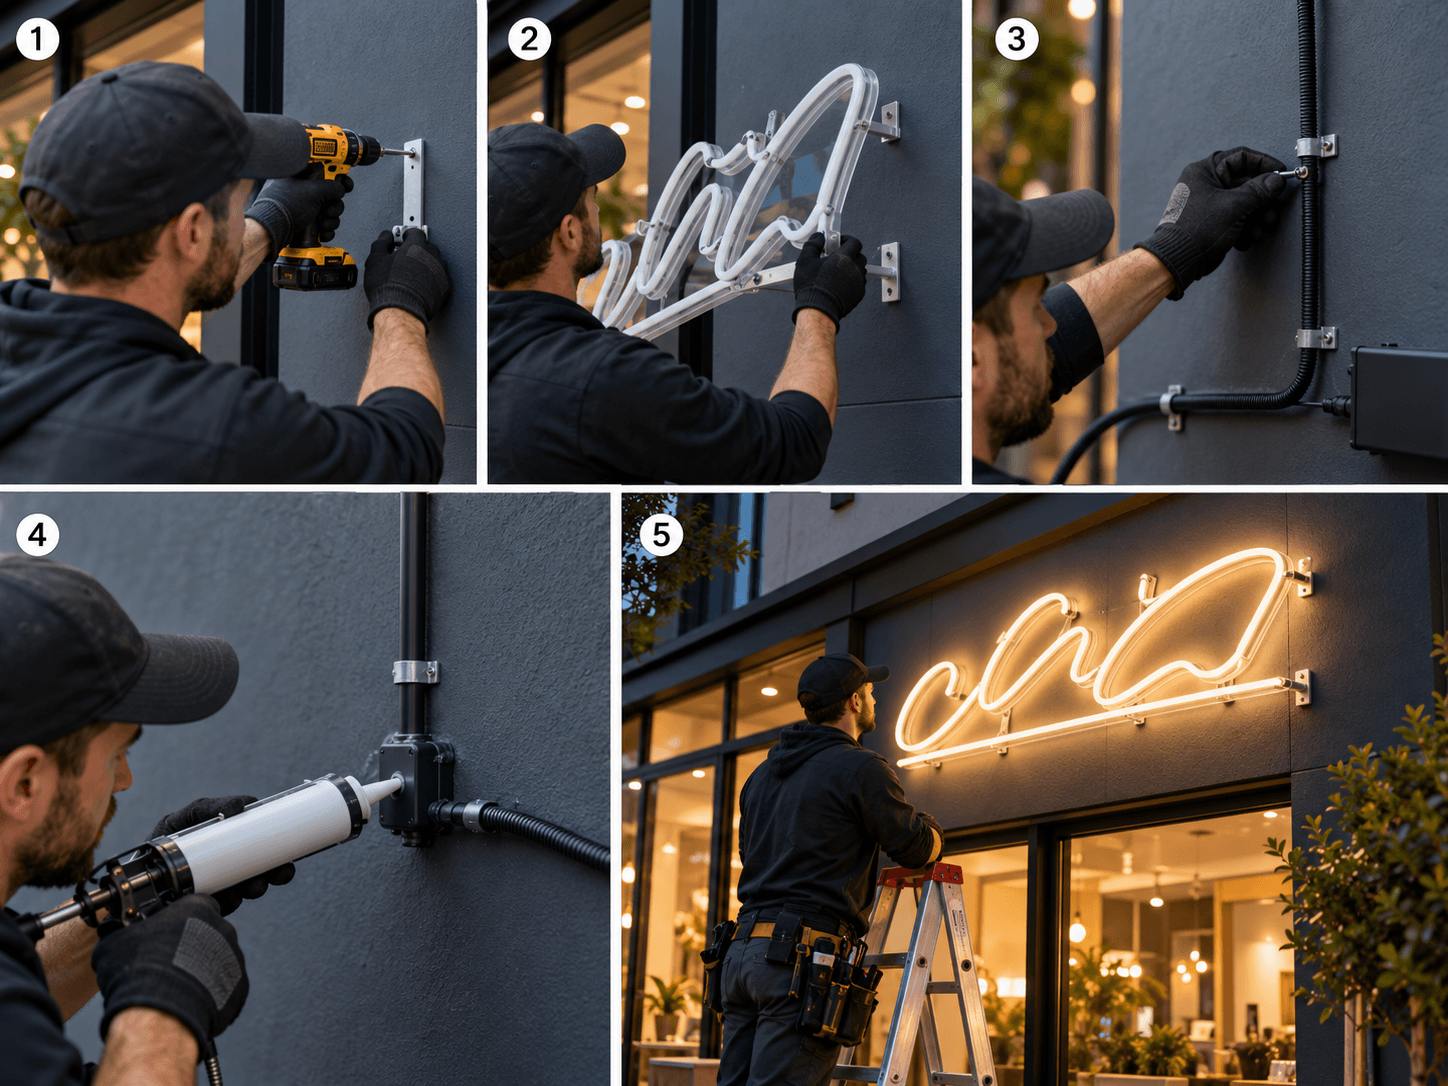
How to Install an Outdoor Neon Sign in 5 Steps
Work through these five steps in order. If any step conflicts with the manufacturer’s instructions, follow the manufacturer.
Step 1: Choose the Right Outdoor Location
Look at the planned spot in daytime and after dark. A sign that looks bright at night may be harder to read in direct sunlight; nearby lights, glass, or traffic can cause glare. Place a custom logo neon sign where customers can see the message without blocking windows, paths, or required safety signs.
Check exposure from every direction. Roof overhangs may still allow sideways rain. Avoid gutters, low points where water collects, and areas hit by sprinklers. Confirm where the outlet is located and whether the supplied cable reaches without tension or crossing a walkway.
If you have not selected a sign yet, review the guide to water resistance in LED neon signs before choosing its location. Exposure determines the required protection; a high number on a product listing does not replace supplier approval for the exact installation.
Step 2: Match Mounting Hardware to the Wall
|
Wall or display |
Common approach |
Important caution |
|
Brick / concrete |
Suitable masonry bit and masonry anchors |
Avoid damaged mortar and hidden wiring |
|
Solid wood / siding |
Fasten into a secure supporting point |
Do not rely on thin siding alone; seal penetrations as specified |
|
Stucco |
Anchors reaching approved supporting material |
Surface can crack; specialist assessment may be needed |
|
Glass / window |
Approved hanging or support frame |
Do not drill glass yourself; check load limits |
Inspect the wall before drilling. If you cannot identify what is behind the surface, stop and seek professional advice. Large signs or windy locations may need engineered brackets and extra support; do not improvise with household adhesive strips for a permanent outdoor installation.
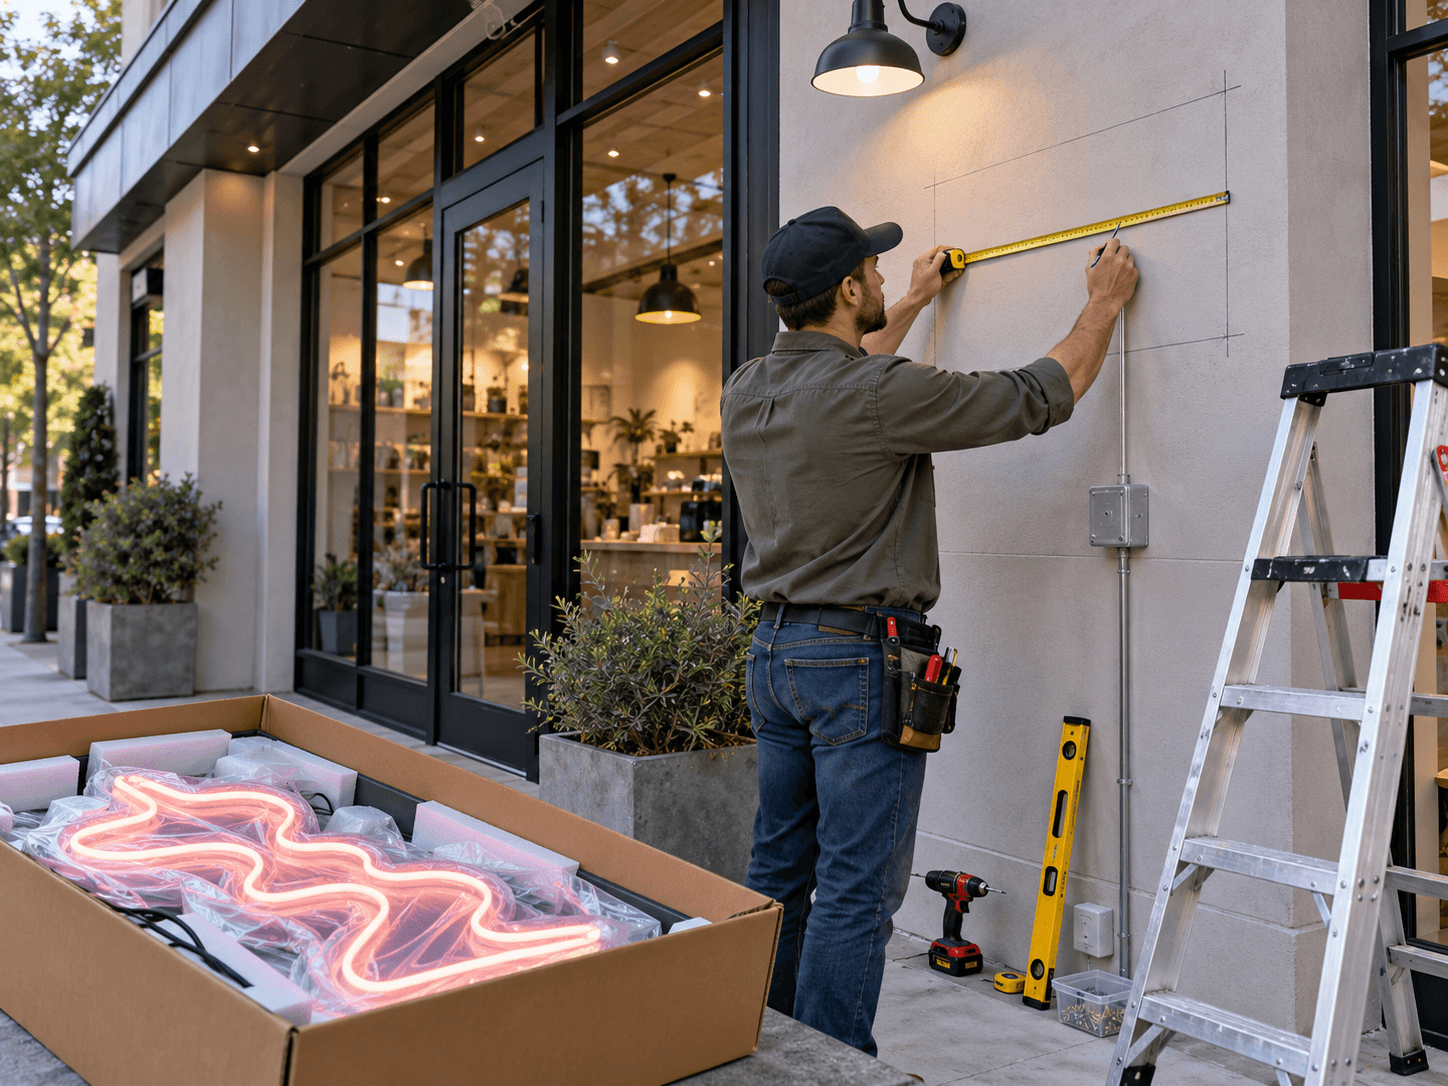
Step 3: Mark, Drill, and Mount the Neon Sign
- Keep the sign unplugged. Lay it flat on a clean surface and protect the acrylic from scratches.
- With help if needed, hold the sign in its planned position and check viewing height and alignment.
- Use a level, then mark each predrilled hole or approved bracket position.
- Set the sign aside before drilling; inspect the drilling area for concealed pipes or wiring.
- Drill using the correct tool and bit, then install fasteners rated for the mounting surface.
- Fit supplied spacers or standoffs, align the backing, and tighten each fastener evenly.
- Check for movement or flexing. Never lift the sign by its illuminated tubing or power lead.
Do not overtighten fasteners against acrylic. If the backing cracks, hardware pulls loose, or the wall shifts, stop work. Follow the product-specific installation instructions instead of relying on a generic mounting sequence.
Step 4: Protect Power Connections and Route Cables
Use a protected outdoor power source suitable for the installation and any applicable electrical code requirements. A sign may have outdoor-suitable LED tubing but an indoor-only adapter or controller. Place those components where their manufacturer permits, which may mean indoors or in an approved enclosure.
- Keep cables away from walkways, door edges, sharp corners, and standing water.
- Secure cables without crushing insulation or pulling on connectors.
- Do not wrap power components in plastic bags or tape to make them “weatherproof.”
- Use the cable-routing and sealing method supplied by the manufacturer.
- Ask a qualified electrician to install a new outdoor receptacle, concealed wiring, or permanent circuit.
A small downward loop before a suitably rated enclosure can help water drip away from its cable entry, but it does not make an unprotected connection safe. Do not operate equipment that appears wet or damaged.
Step 5: Test the Sign Before Finishing the Installation
After securely mounting the sign and checking all connections, power it on following the manufacturer’s instructions. Confirm that every illuminated section works; operate the remote and dimmer, where supplied; and check readability from the intended viewing distance.
|
Test |
Expected result / action |
|
Lighting |
All sections illuminate without unexpected flickering |
|
Controls |
Remote or dimmer responds correctly, if supplied |
|
Power accessories |
No unusual heat, buzzing, smell, or damaged insulation |
|
Visibility |
Text and graphics remain clear without excessive glare |
|
Mounting |
Backing, brackets, and cable clips stay secure |
If you notice smoke, burning smell, unusual heat, or repeated flickering, disconnect power when safe and contact a qualified professional or the supplier. Once checks pass, fasten any remaining cable clips and inspect the mounting points again.
Common Outdoor Neon Sign Installation Mistakes to Avoid
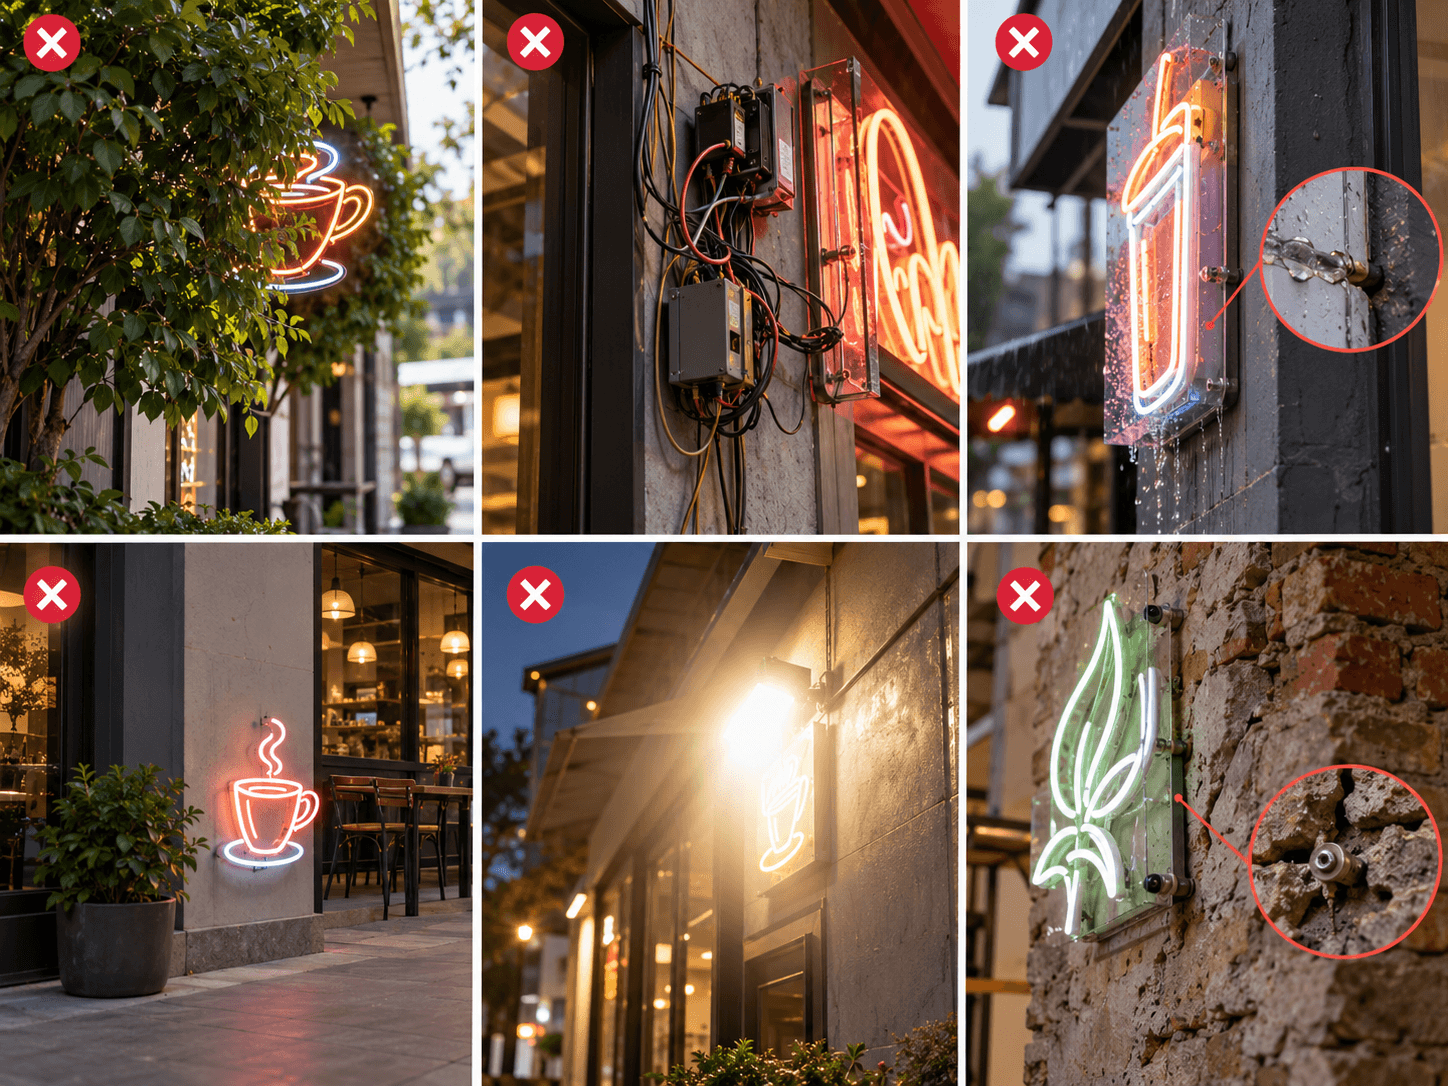
- Installing an indoor-only sign in a rain-exposed area
- Assuming the LED tubing’s IP rating covers the adapter and controller
- Using the wrong anchors or relying on weak siding or adhesive strips
- Running cables through standing water or across pedestrian routes
- Drilling without checking for hidden cables and pipes
- Overtightening screws and cracking the acrylic backing
- Ignoring local permits, landlord rules, or wind exposure
When Should You Hire a Professional Neon Sign Installer?
Use professional installation when the sign is high, large, heavy, exposed to strong wind, close to water, or mounted to damaged or unfamiliar material. Electrical work that involves new wiring, outlets, or permanent circuits should be completed by a qualified electrician. Commercial exterior signage can also require permissions or local approvals.
How to Maintain an Outdoor Neon Sign After Installation
Inspect mounting points, connectors, cables, backing, and seals regularly and after severe weather. Turn off and unplug the sign before cleaning; use a soft cloth and cleaning products approved for the acrylic. Avoid pressure washers, direct hose spray, and aggressive chemicals. If water enters an electrical component, disconnect the sign and contact the supplier or a technician before using it again.
Outdoor Neon Sign Installation FAQs
Can I install an outdoor neon sign myself?
Possibly, if the sign is small, the wall is sound, and the product instructions permit it. Hire professionals for elevated, heavy, or electrically complex work.
Can I mount an outdoor neon sign on brick?
Yes, when suitable masonry hardware is used and the wall can safely carry the load. Check for weak mortar and hidden services before drilling.
Does the adapter need to be waterproof?
It must be approved for the location where it will operate. Some outdoor installations need the adapter placed indoors or inside a suitable enclosure.
Can I use adhesive strips outdoors?
Do not assume household adhesive strips can support a permanent exterior sign. Use a manufacturer-approved mounting method.
How do I know whether my sign can handle rain?
Check the product’s documented outdoor-use conditions and ratings for the complete assembly, including connections and accessories.
Ready to Plan Your Outdoor Neon Sign?
Before placing an order, share your installation location, wall material, expected rain exposure, and power access with NeonChamp. Ask the team to confirm the correct build and mounting accessories for your project. Design your custom neon sign once the outdoor requirements are clear.
Get 25% OFF on All ProductsCode:NEON25View Offers!
Neon Collection50% OFF