
 we're online
What's Included With a Custom LED Neon Sign? A Buyer's Checklist
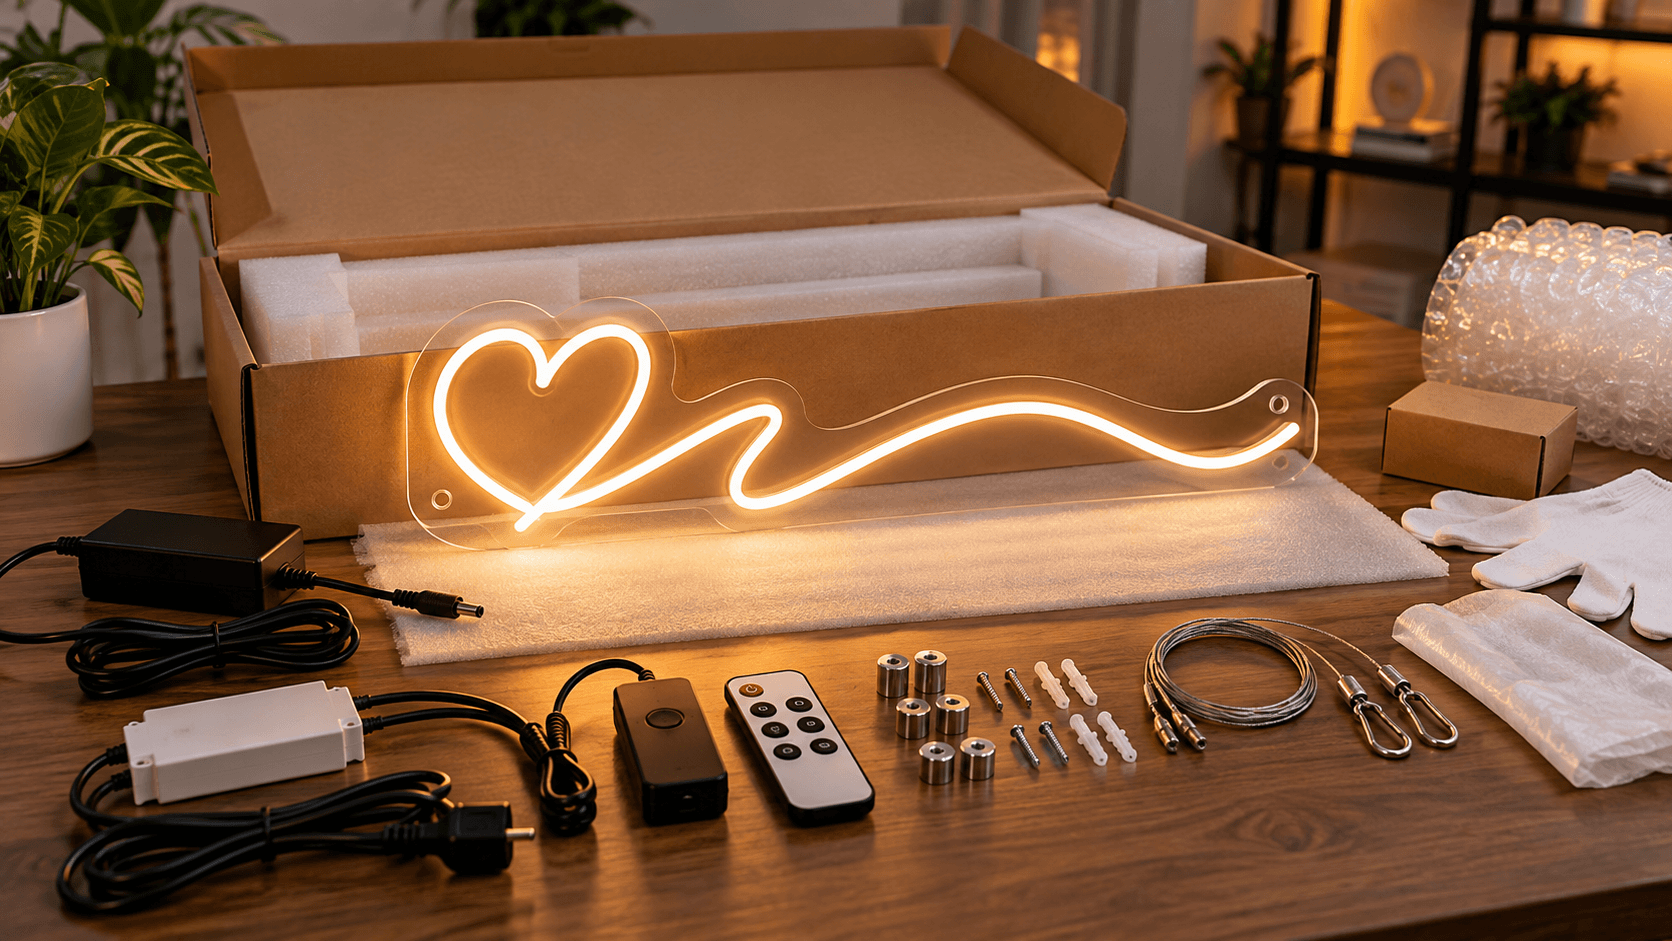
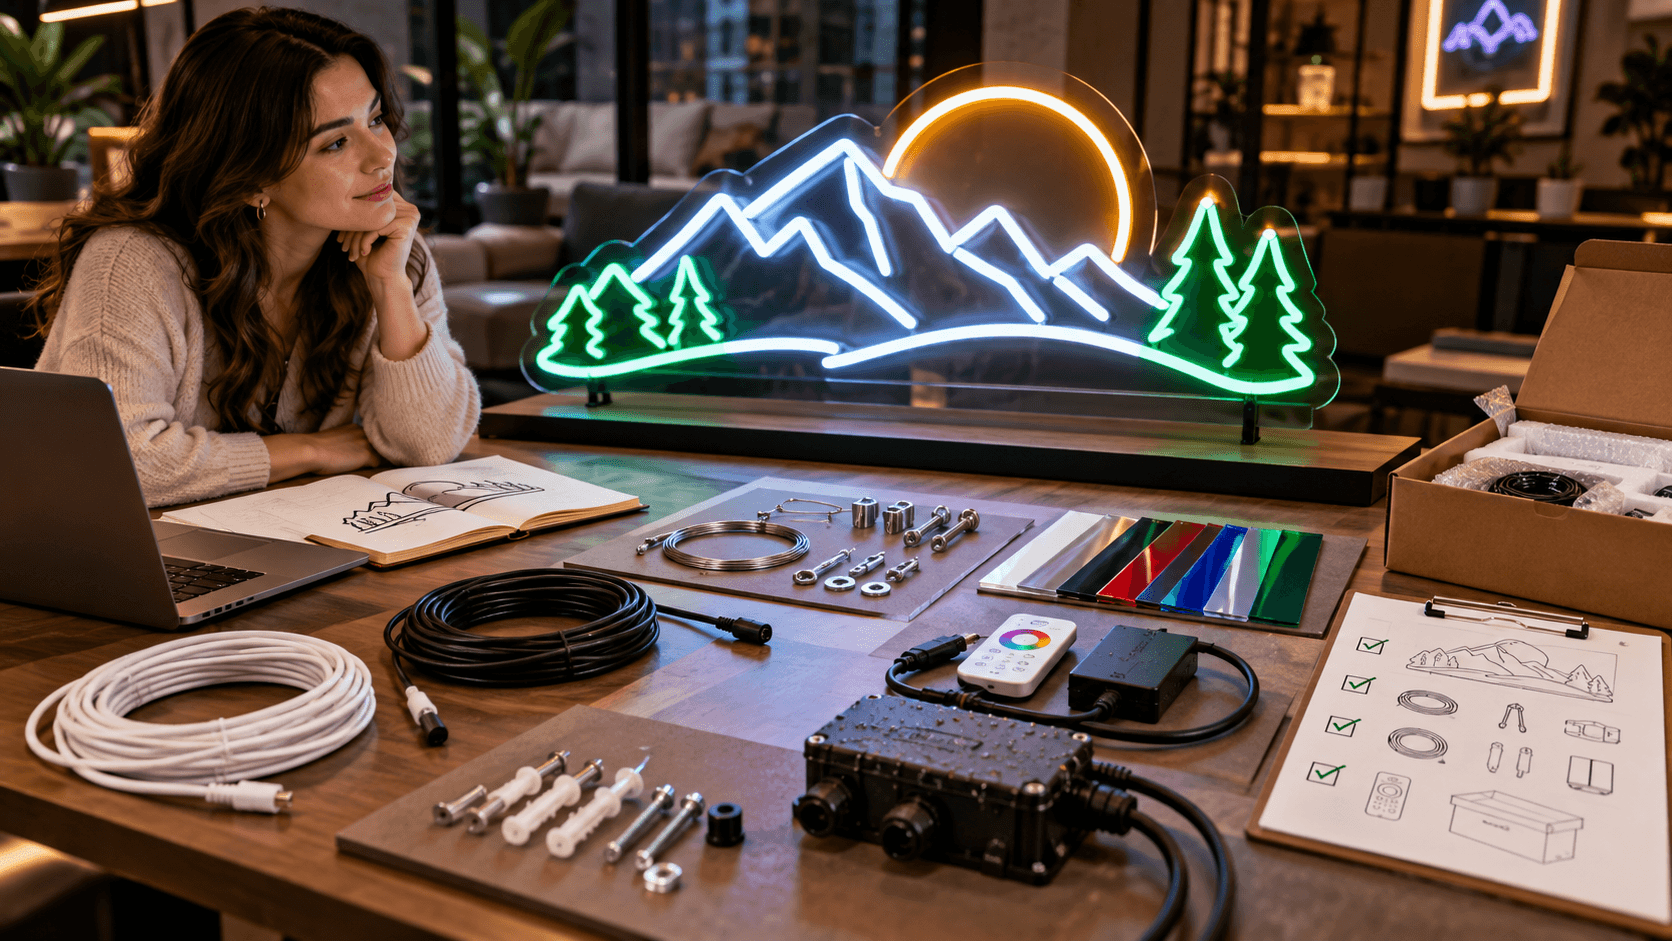
A custom LED neon sign should arrive as more than just the illuminated design. For NeonChamp US, the current custom neon sign kit lists the acrylic backboard, wall mounting kit, sign hanging kit, remote and dimmer, power adapter, and RF controller as included components. The exact package can still depend on the sign type and selected options, so check the product page, proof, and order confirmation before paying.
This guide explains what each part does, what may require an upgrade, and what to verify before you order custom neon signs.
What Should Be in the Box?
|
Component |
What It Does |
Typical Status |
What to Check |
|
LED neon sign + acrylic backing |
Supports the LED tubing and finished design |
Included |
Wording, color, size, layout |
|
Power adapter |
Converts household power for the sign |
Included |
Correct plug and rating |
|
Remote + dimmer |
Controls power and brightness |
Included by NeonChamp |
Functions before mounting |
|
RF controller |
Receives remote-control commands |
Included by NeonChamp |
Connection and placement |
|
Wall mounting kit |
Mounts the sign to a wall |
Included by NeonChamp |
Suitability for your wall type |
|
Sign hanging kit |
Allows suspended installation |
Included by NeonChamp |
Ceiling/support capacity |
|
Outdoor construction |
Weather protection for exterior use |
Confirm before production |
Outdoor rating and sealed components |
|
Professional installation |
Installer labor and site work |
Usually separate |
Quote and electrical requirements |
1. The Finished Sign and Acrylic Backboard
The main item is the completed LED design mounted to its approved backing. Before installation, compare it with the final proof: wording, logo shape, color, dimensions, cable exit, and mounting holes should match what you approved.
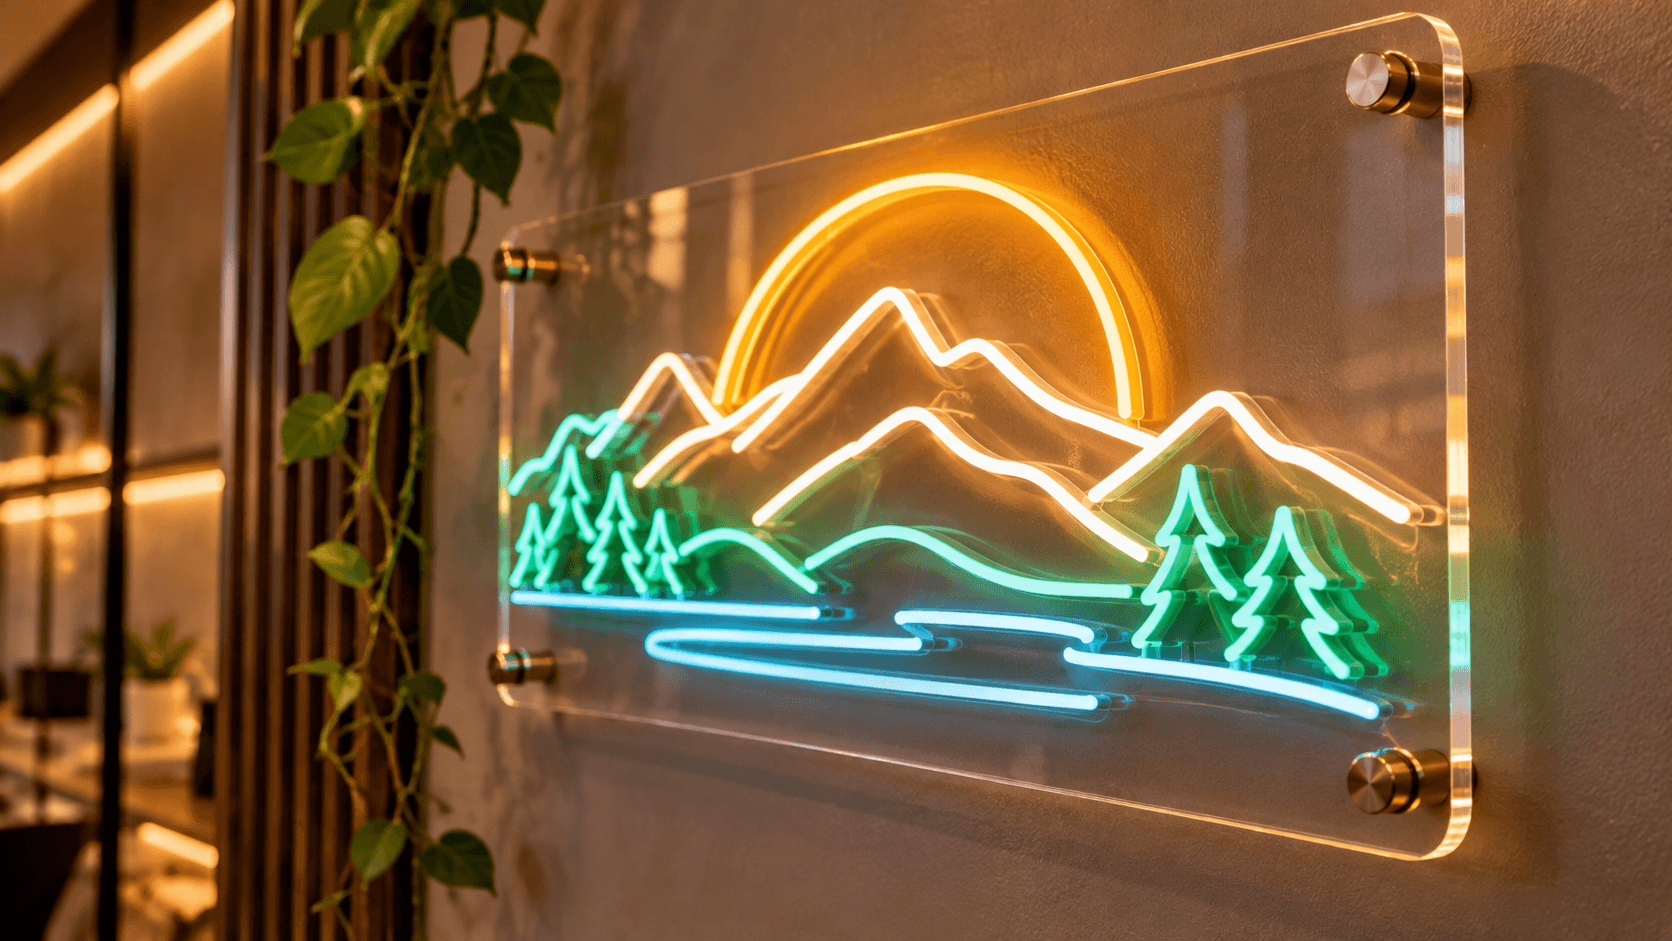
Backing style affects appearance, installation, and how much acrylic remains visible. If you are deciding between close-cut options, see the cut-to-shape vs. cut-to-letter neon sign backboard guide.
|
Backing Style |
What It Looks Like |
Good Fit For |
|
Cut around |
Acrylic follows the overall design outline |
Logos, icons, mixed text/designs |
|
Cut to letter |
Backing follows letters or sections more closely |
Minimal, floating look |
|
Rectangular |
One clean panel behind the whole design |
Wide signs and simple mounting |
|
Printed/colored |
Adds printed graphics or a colored background |
Extra branding or contrast |
2. Power Adapter, Cables, Remote, Dimmer, and Controller
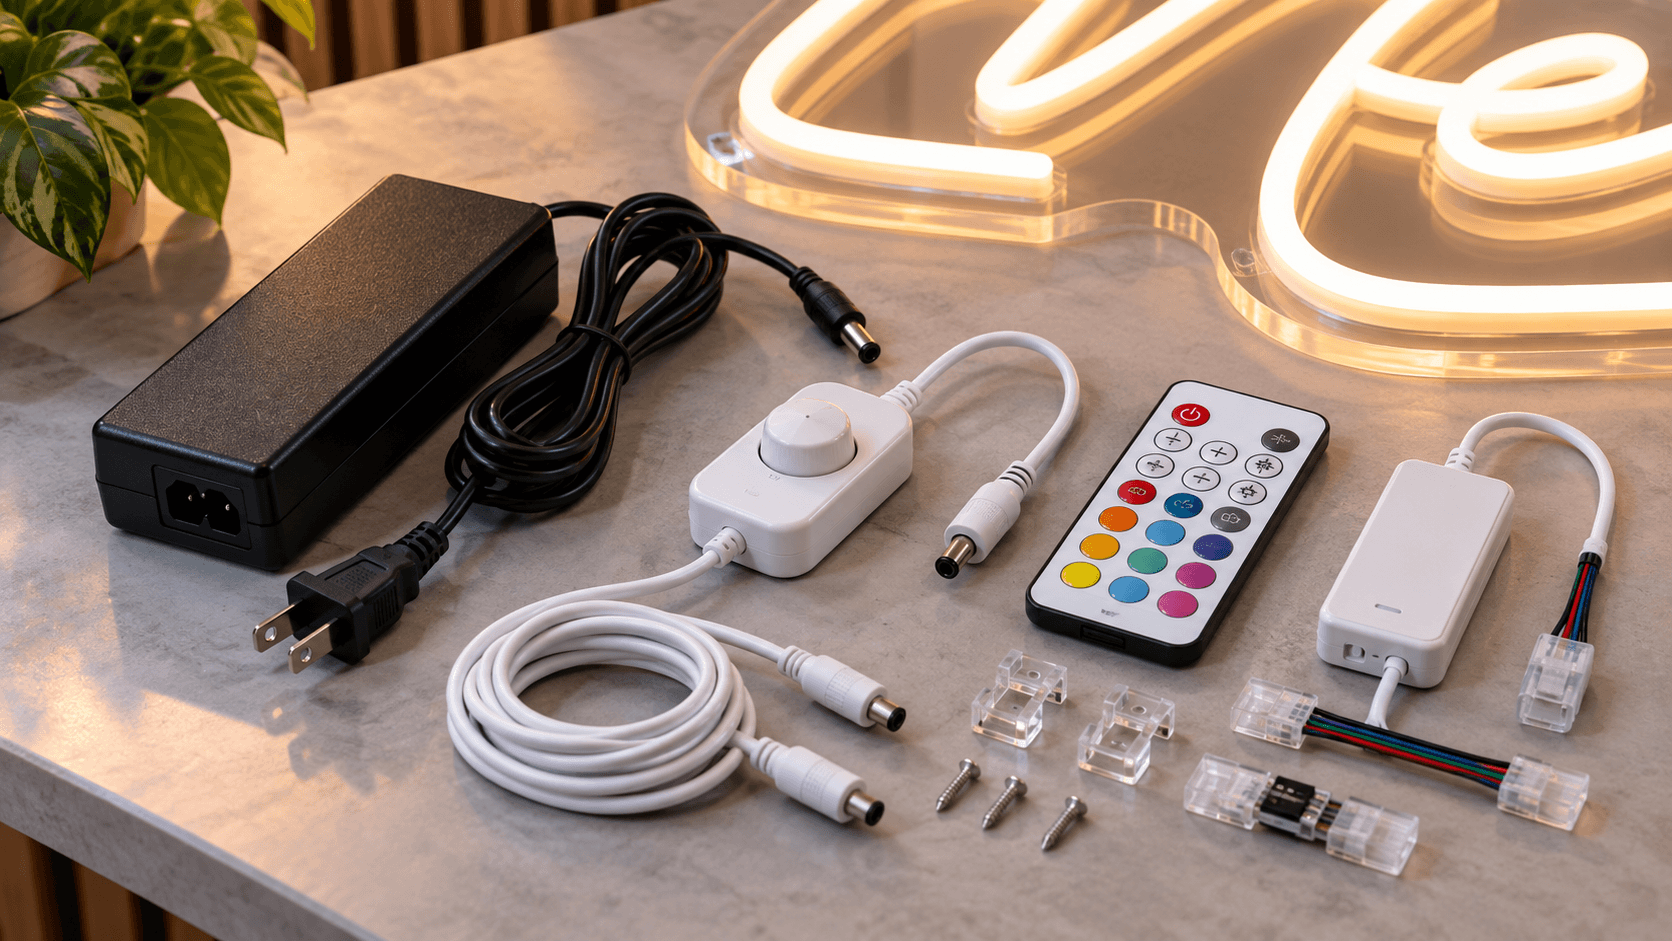
The electrical parts matter as much as the sign itself. Use the supplied adapter rather than replacing it with one that merely has the same plug shape. Voltage, current, polarity, and connector type must match the sign.
- Power adapter: supplies the correct power to the LED tubing.
- Remote and dimmer: controls on/off and brightness; NeonChamp currently lists these as free/included.
- RF controller: receives commands from the remote and connects into the power chain.
- Connection cables: link the sign, controller, and adapter; check for loose or damaged connectors before use.
If you are considering color-changing effects instead of a single-color sign, review the static vs. RGB vs. RGB gradient neon sign guide before ordering, because the controller and features can differ.
3. Mounting and Hanging Hardware
NeonChamp currently lists a wall mounting kit and a sign hanging kit among the components in its custom neon sign kit. Still, included hardware may not suit every surface.
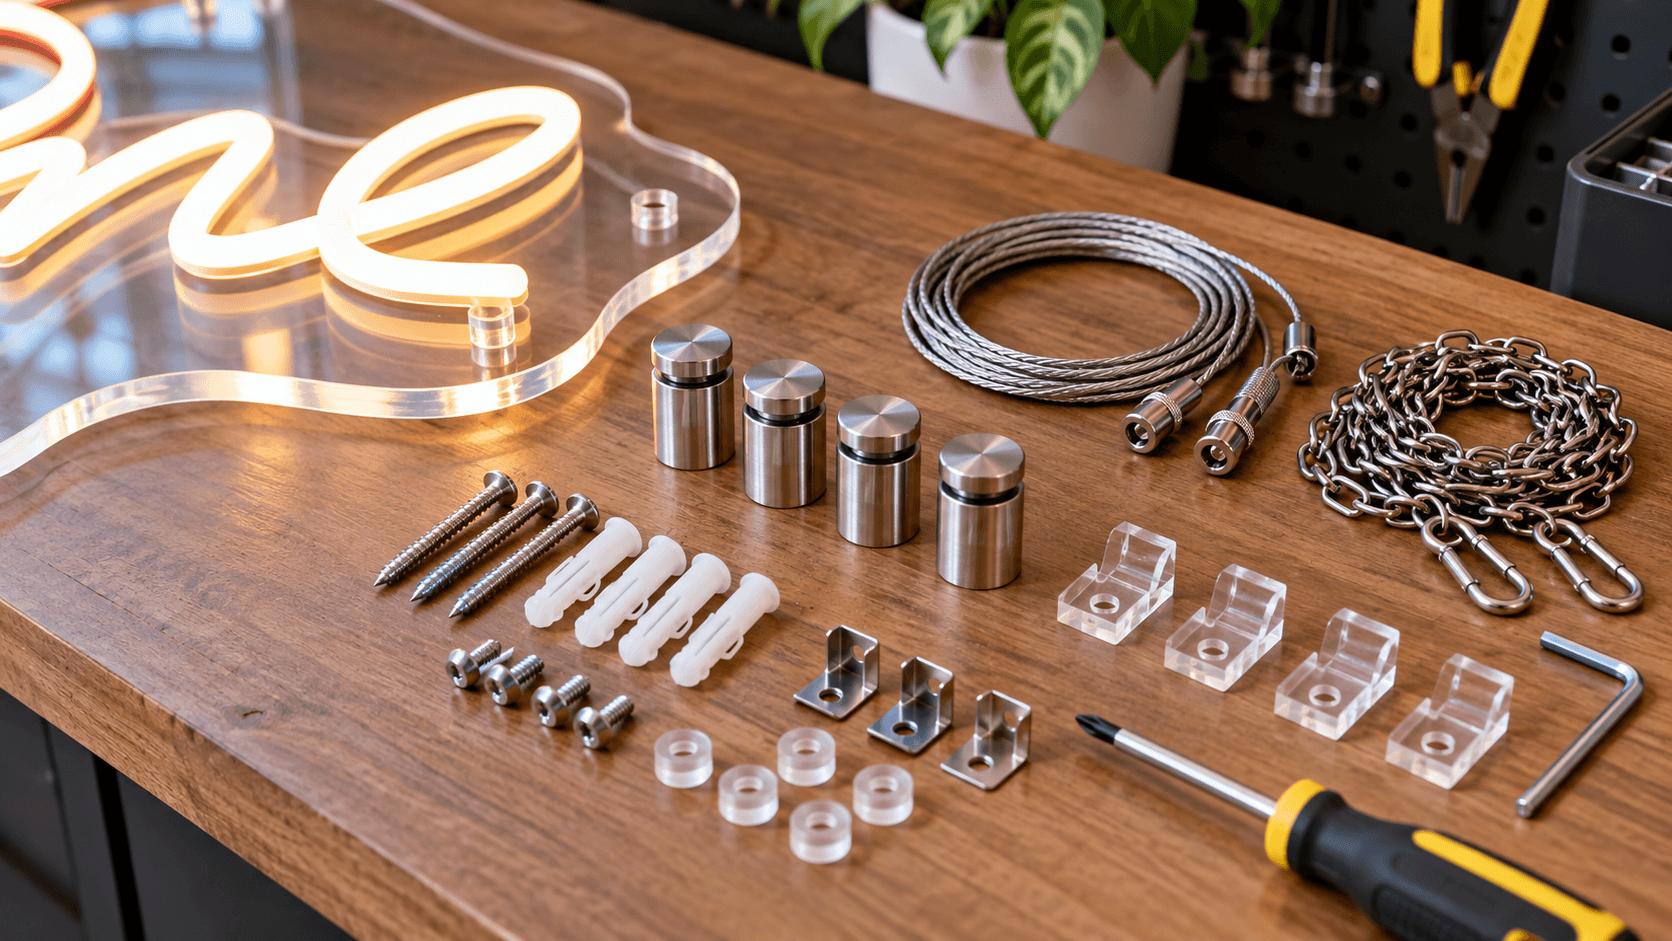
- Drywall may need suitable anchors based on sign weight.
- Brick, concrete, and tile usually need different plugs and drill bits.
- Ceiling-hung signs require secure fixing points rated for the sign and hardware.
- Cable clips, covers, or extra cable length may be needed for a clean installation.
Before drilling, confirm the sign dimensions, wall material, hole positions, nearby wiring or pipes, and outlet location. Use the neon sign installation guide for planning the mounting process.
4. What May Cost Extra or Need Special Confirmation?
The base package may cover normal indoor installation, but special use cases should be confirmed before production rather than treated as an afterthought.
- Outdoor/weather-resistant construction and suitable electrical components
- Wall-specific anchors, specialty mounting hardware, or longer hanging hardware
- Additional cable length or a different cable exit position
- Printed or specialty-colored acrylic backing
- RGB or advanced programmable lighting options
- Professional installation or hardwiring by a qualified electrician
- Rush production, expedited shipping, or replacement accessories outside warranty
These choices can change the final price. See what affects custom neon sign cost before comparing quotes.
5. What to Confirm Before You Pay
- Final sign width and height, not just the selected nominal size
- Backing shape, color, and mounting-hole layout
- Power adapter and plug type for your location
- Remote, dimmer, and controller functions
- Wall-mount or hanging hardware included with your specific order
- Indoor or outdoor construction and exact installation conditions
- Cable length and cable exit position
- Warranty coverage for the LEDs, adapter, controller, and workmanship
- Production and shipping estimate for your required date
For a wider pre-purchase review, use the custom neon sign buying checklist.
6. Check the Package Before Installation
Do not discard the box immediately. Lay out the sign and accessories, compare them with the packing list, and test the sign before mounting it.
|
Check |
Pass Condition |
If Something Is Wrong |
|
Sign design |
Matches approved proof |
Photograph the mismatch before installation |
|
Acrylic backing |
No major cracks or shipping damage |
Keep packaging and contact support |
|
Power-up test |
Lights evenly without unusual heat or smell |
Unplug and report the issue |
|
Remote/dimmer |
Power and brightness controls respond |
Check controller connections and battery |
|
Hardware |
Required pieces are present |
Confirm missing item against order details |
A Better Buying Decision Comes From Checking the Complete Package
A low sign price is not useful if you later discover that essential controls, suitable mounting hardware, outdoor protection, or installation support are missing. Compare the complete package rather than the illuminated sign alone.
If you are still choosing size, style, backing, and accessories, the custom neon signs buyer's guide can help you compare the full order before checkout.
FAQs
What is included with a NeonChamp custom LED neon sign?
NeonChamp’s current US site lists an acrylic backboard, wall mounting kit, sign hanging kit, remote and dimmer, power adapter, and RF controller in its custom neon sign kit. Check your order details because configuration-specific items can vary.
Does a custom neon sign come with a remote and dimmer?
NeonChamp currently advertises a free remote and dimmer with its custom neon signs. For any seller, confirm the exact controller functions before payment, especially for RGB or animated designs.
Do I need to buy mounting hardware separately?
NeonChamp lists wall mounting and hanging kits as part of its kit, but the supplied hardware may not be appropriate for every wall or ceiling. Brick, concrete, tile, or specialty surfaces may need different anchors or professional installation.
Is outdoor protection included automatically?
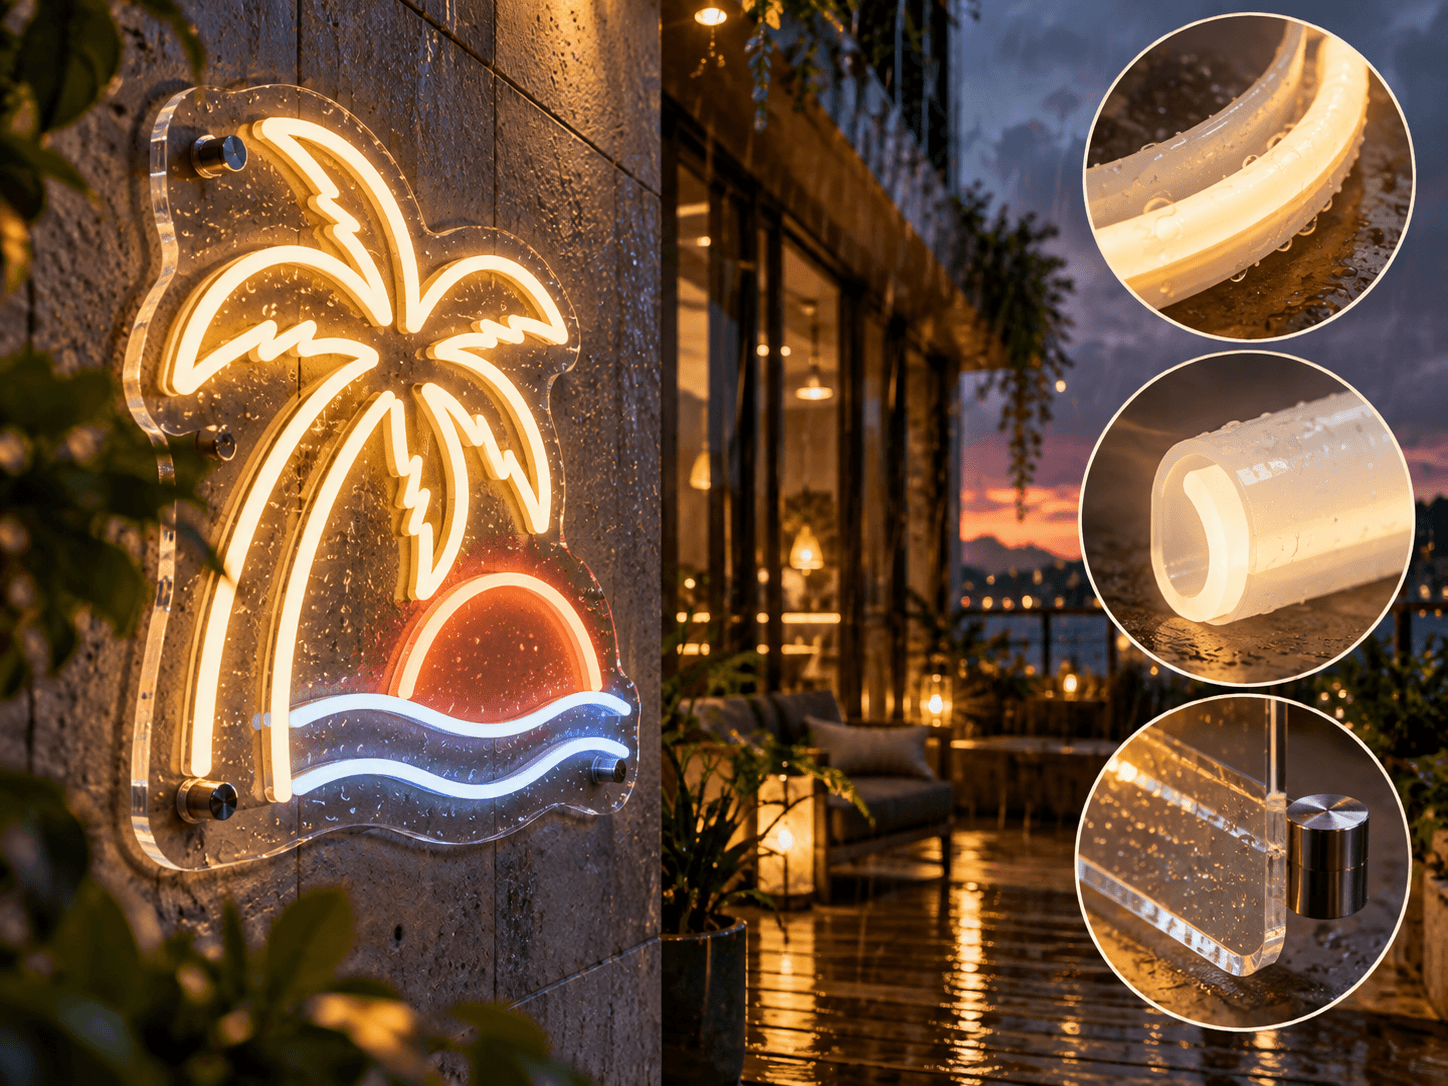
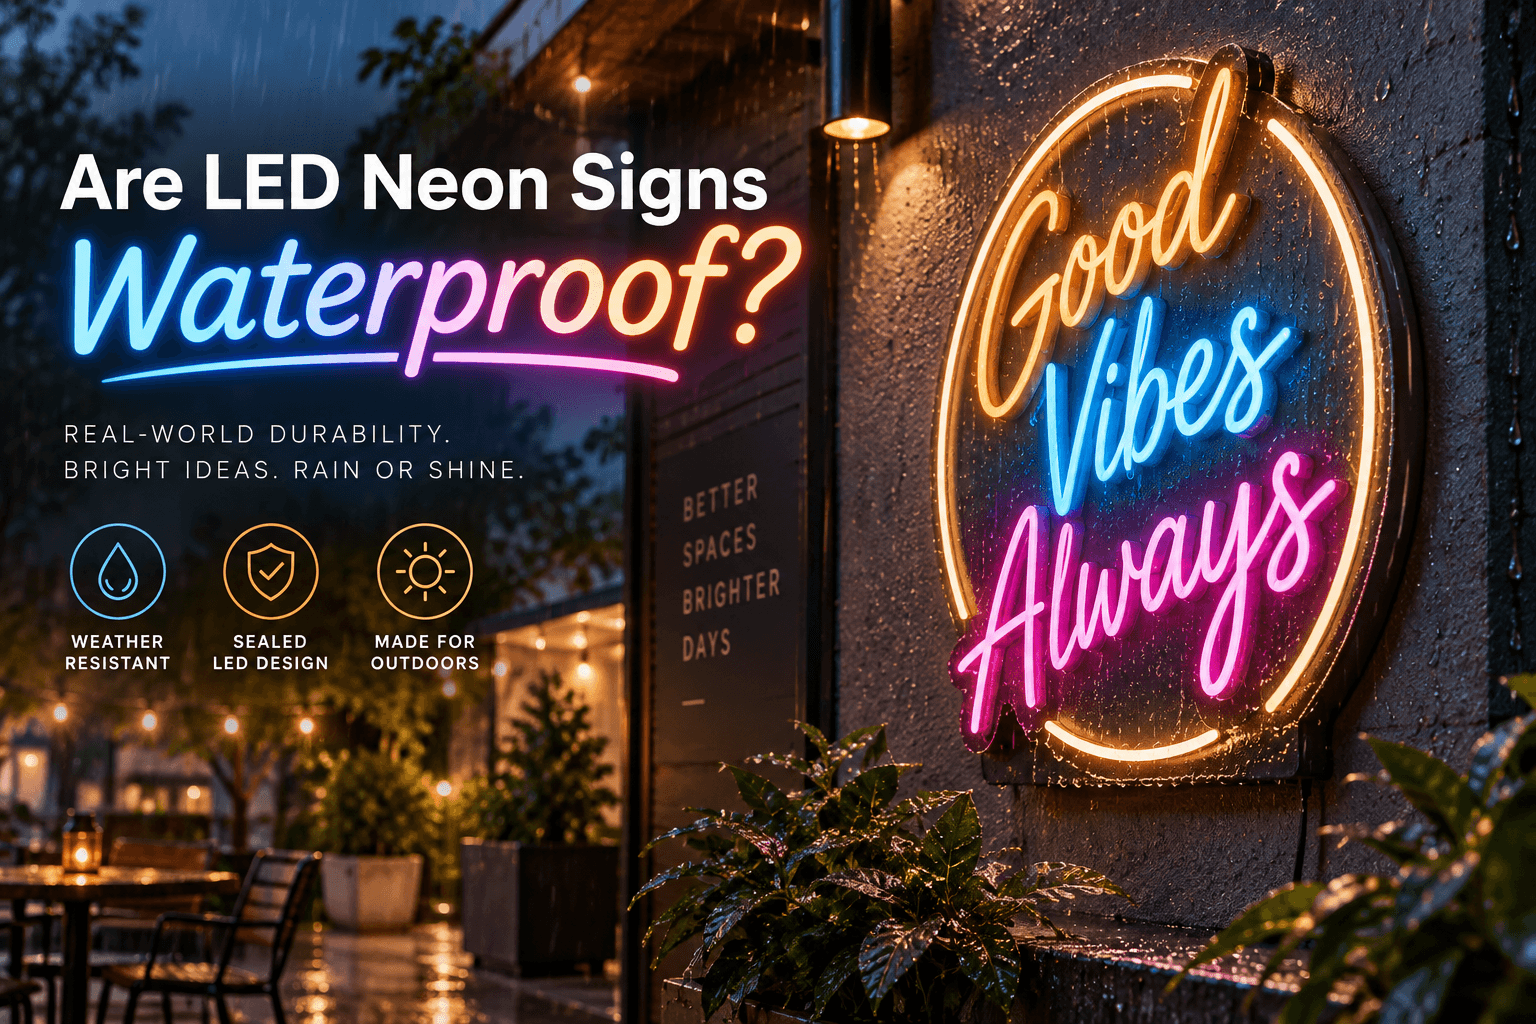
Do not assume so. Outdoor use can require weather-resistant tubing, sealed connections, suitable power components, and installation hardware. Confirm outdoor construction before production.
Should I test the sign before mounting it?
Yes. Test the sign, remote, dimmer, controller, and power adapter before drilling or hanging. This makes it easier to identify a missing or faulty component before installation.
What should I keep after delivery?
Keep the invoice, approved proof, order confirmation, packaging, and photos of the sign and accessories until you have tested and installed the product successfully.
Get 25% OFF on All ProductsCode:NEON25View Offers!
Neon Collection50% OFF