
 we're online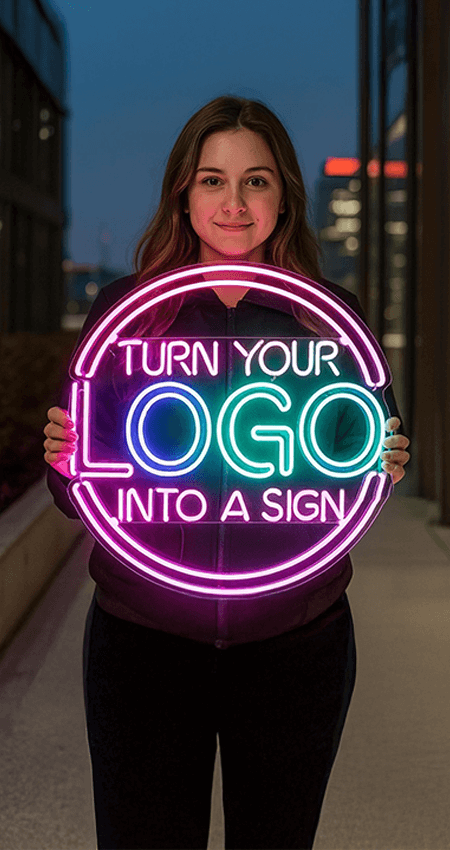
Custom Neon Sign Mockup Approval Checklist: 12 Things to Check
Approving a mockup is the last chance to fix a design before production begins. A small mistake on screen can become far more obvious once the finished neon signs is mounted on a wall, because scale, brightness, and viewing distance all change what the eye actually notices.
Never approve a proof after a quick glance. Open it on a larger screen, compare it with your original request, and ask another person to read the important text out loud. This 12-point checklist walks through every part of a NeonChamp mockup that's worth checking before you sign off — so your buying decision is based on what the sign will actually look like, not just what it looks like on a small phone screen.
1. Check Every Letter and Number
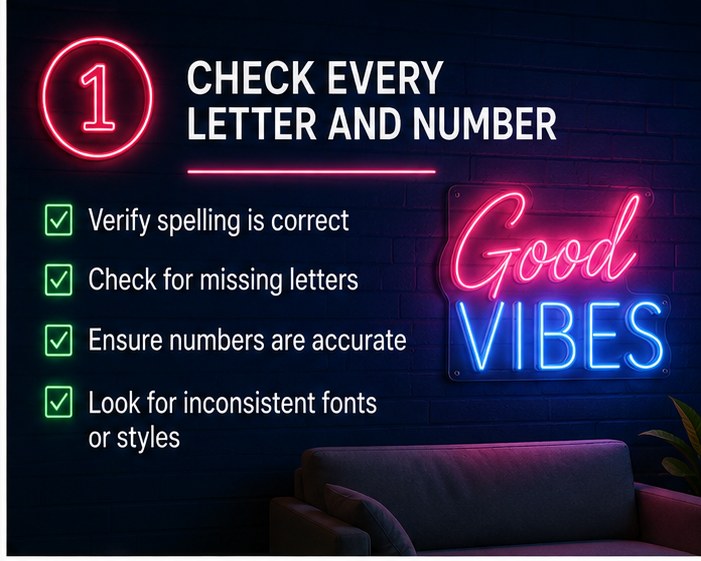
Begin with spelling. Read each word one character at a time instead of reading the phrase naturally — this method helps the eye notice missing, repeated, or incorrect letters that get skipped when you read for meaning.
Check names, dates, phone numbers, web addresses, social handles, and punctuation. For custom neon name signs, confirm the recipient's preferred spelling and capitalization. Do not assume the designer corrected an error carried over from the submitted order — mockups are built from what was typed, not what was intended.
2. Confirm the Exact Dimensions
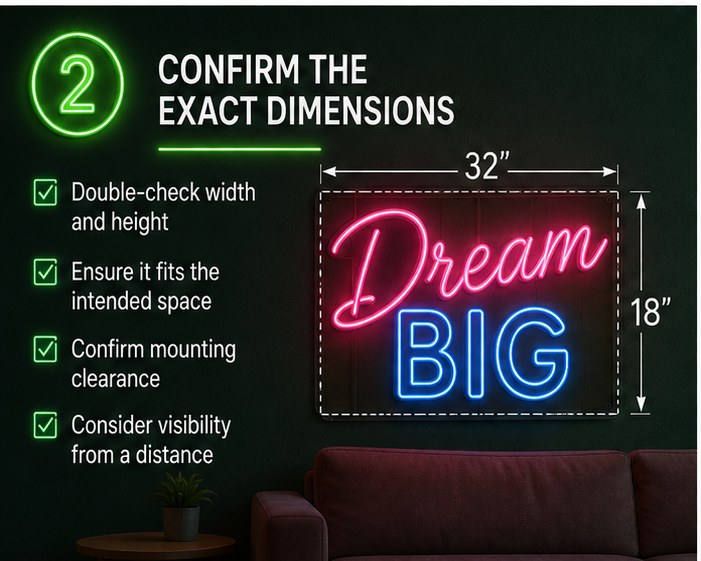
The dimensions shown on a mockup represent the finished product, not how large the image appears on your phone or computer screen. Always check the listed width and height in inches, not the on-screen size.
Use painter's tape to mark those dimensions on the intended wall. Step back to the normal viewing position and decide whether the size feels right. A custom led sign above a reception desk may need to be wider than one used beside a bedroom shelf — our neon signs for bedrooms collection is a useful reference for scale in a smaller room. If you're unsure what size actually reads well from across a room, our guide to choosing the right neon sign size walks through sizing by room and viewing distance before you commit.
Also confirm whether the stated dimensions refer to the illuminated design, the acrylic backing, or the entire product — these three measurements are rarely identical.
3. Review the Design Proportions

A designer may adjust a logo to make it suitable for LED tubing. Compare the mockup with the original artwork and check whether the height-to-width ratio has changed in the process.
Circles should remain circular. Icons should not look stretched, and lettering should not appear squeezed. If you're ordering custom design neon signs for a business, preserving familiar logo proportions is essential for brand recognition — a slightly stretched logo can look unfamiliar even to regular customers.
4. Inspect the Font and Letter Shape
Review each character instead of approving the font name alone. Some script fonts connect letters, which can make certain names or phrases harder to read once they're glowing rather than printed. Similar characters, such as uppercase I and lowercase l, can also cause confusion in neon.
Check how the first and last letters finish. Make sure decorative loops don't merge with nearby lines. When ordering Custom made neon signs, ask for a simpler font if the chosen style reduces readability — our guide to the best fonts for neon signs is a useful reference if you want to compare options before the mockup stage.
View the proof from a distance by zooming out on your screen. If the wording becomes difficult to read at a glance, customers or guests may run into the same problem after installation.
5. Check Spacing and Alignment
Look at the gaps between letters, words, and separate design elements. Spacing should feel intentional and allow each illuminated line to remain visually distinct rather than blurring into the next.
For a multiline design, confirm the text is centered or aligned as requested. Check the space between lines and make sure one line doesn't overpower another without reason.
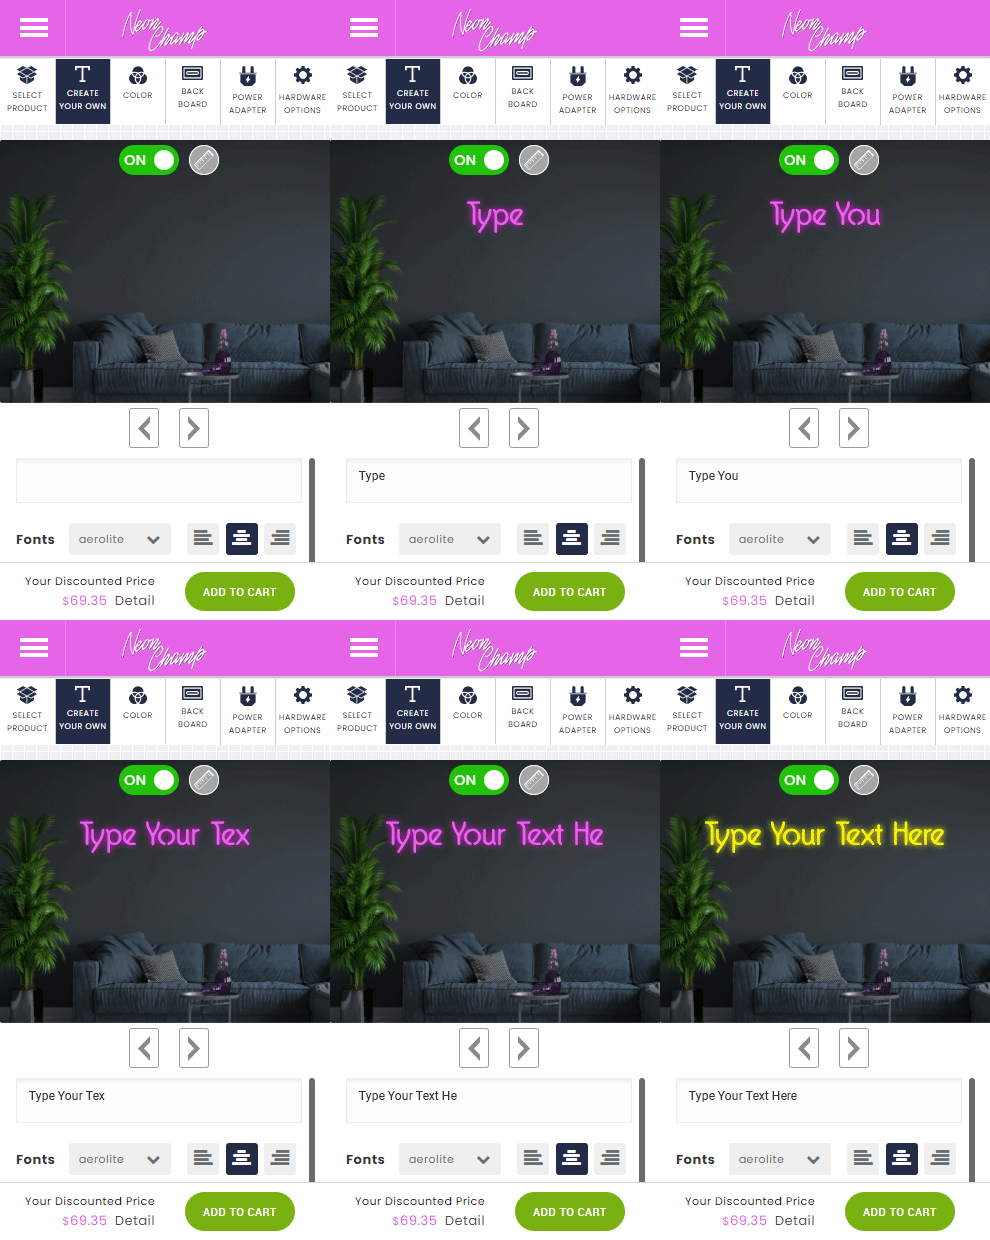
Searches such as led signs custom often lead buyers straight to a tool where you can design your neon sign online, but an automated preview can miss subtler spacing issues that only show up in the production-ready mockup. Review the actual proof separately from any tool preview, even if you're happy with what the tool showed you.
6. Verify Every Color
Confirm the color assigned to each word, symbol, and logo section. If the design uses several colors, ask for a labeled proof or a written color list so nothing is left to guesswork.
Remember that illuminated colors look different from printed colors. LED tubing may not reproduce an exact Pantone, HEX, RGB, or CMYK value, so ask NeonChamp which available neon shade is the closest match rather than assuming a perfect color match. Our guide to choosing the right neon light colors explains how illuminated color actually reads on different wall tones, which is worth checking before you approve.
A colored-jacket tube stays visibly colored even when switched off, while a white-jacket tube looks white when unlit. Check which appearance applies to your chosen neon light signs, since this affects how the sign looks during the day as much as at night.
7. Review How the Logo Was Simplified
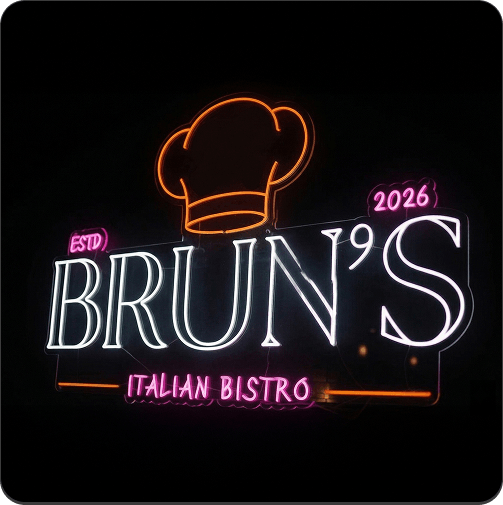
Fine lines, gradients, shadows, tiny text, and detailed illustrations often need to be removed or changed. Flexible neon tubing physically cannot reproduce every element of a printed logo, so some simplification is normal — the question is whether it was done well.
Check whether the simplified version still feels unmistakably connected to your brand. Focus on signature letterforms, icons, outlines, and color placement. Ask for a revision if an essential feature has disappeared rather than just been simplified. If you're still working out how to turn a name, quote, or piece of artwork into a neon-ready design in the first place, our guide on text, logo, and artwork neon sign design covers what translates well into LED tubing and what typically needs adjusting.
For custom led neon signs, clean shapes and readable lines usually produce a stronger illuminated result than crowded detail, even when that means the mockup looks slightly simpler than the original file. If it's a business logo specifically, our custom neon logo signs collection shows how other brand marks were simplified for LED tubing.
8. Choose the Correct Backboard Shape
The acrylic backboard supports the tubing and provides the mounting points. Common options include a rectangle, cut-to-shape backing that follows the outline of the design, and cut-to-letter backing that gives a minimal, floating appearance but can involve several separate sections.
A rectangular board creates one solid panel and is usually easier to position accurately. Cut-to-letter backing looks cleaner on the wall but means more individual pieces to align during mounting.
Confirm the backing color too. Clear acrylic blends into most walls, but a colored or printed backing can change the finished appearance of custom led signs noticeably. And if you're still deciding between traditional glass neon and modern LED neon at the construction level, our LED neon sign vs. glass neon comparison is worth reading before you lock in the build.
9. Confirm Mounting Holes and Installation Style
The mockup should show or describe how the sign will be mounted. Check the number and position of predrilled holes, especially if the sign has several backboard sections that need to line up with each other.
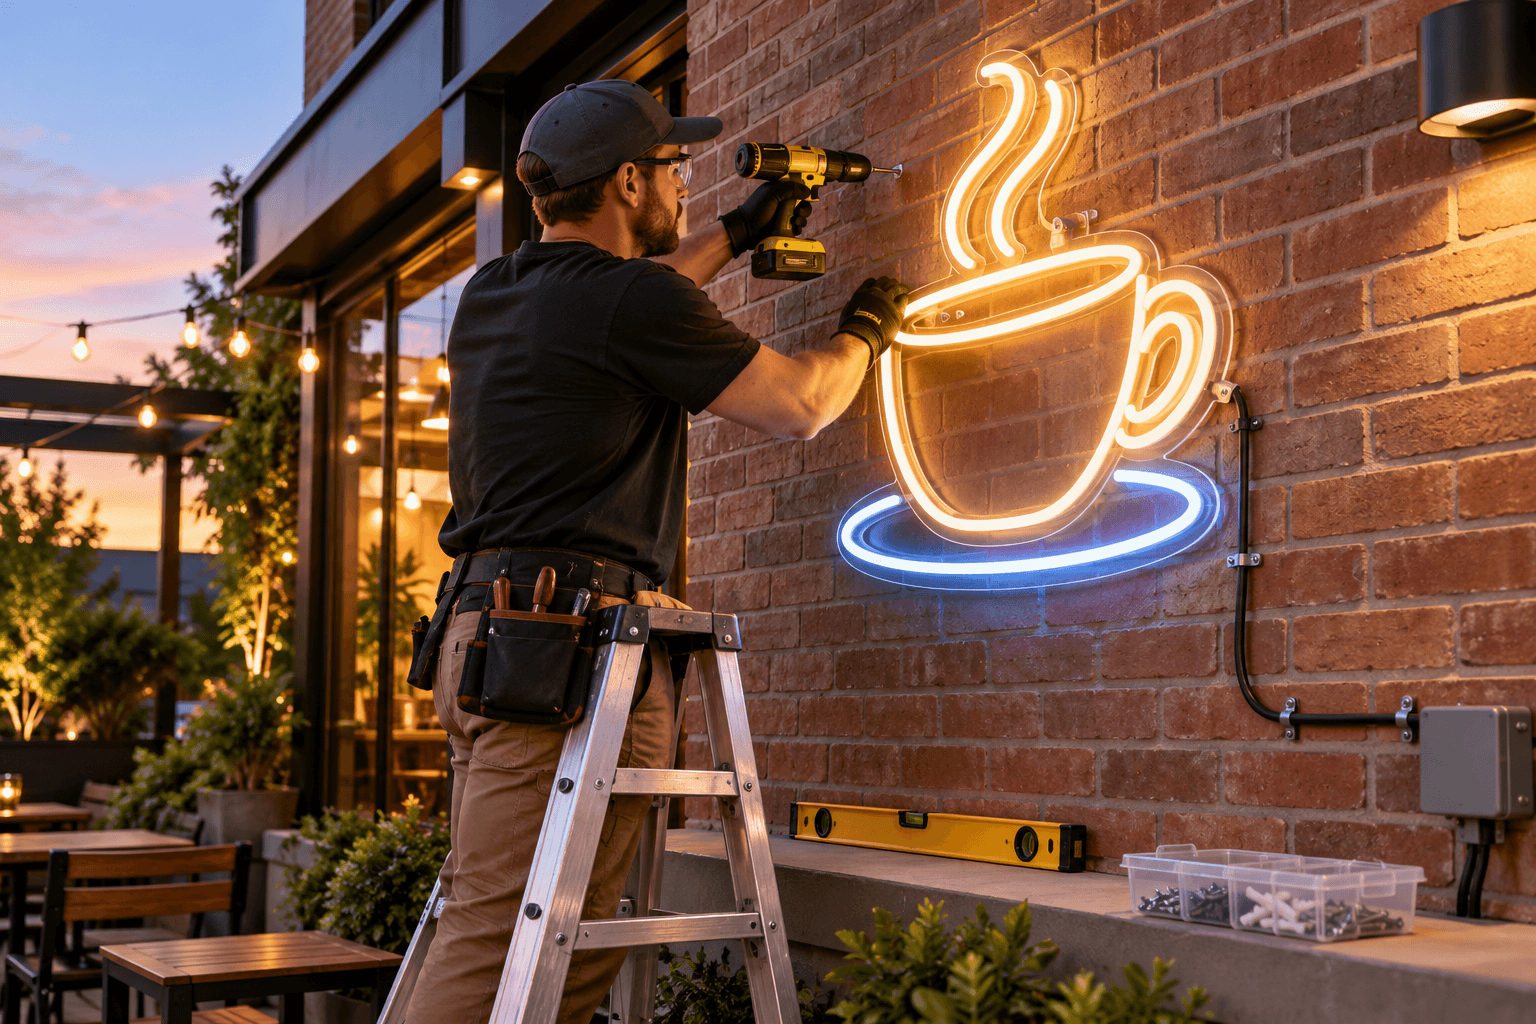
Decide whether the product will be wall-mounted, suspended with a hanging kit, displayed on a stand, or attached to an event backdrop, and make sure the selected hardware suits the surface you actually have. Our guide to installing a neon light covers hardware options for drywall, brick, and other common surfaces in more detail.
Don't wait until delivery to think about installation. Drywall, brick, tile, wood, glass, and temporary event walls can each require a different mounting method, and the mockup stage is the right time to flag it. For a temporary setup, our custom neon signs for events collection includes hanging and backdrop-ready options built for exactly this kind of install.
10. Check the Power Cord Position
A well-designed neon sign custom order can still look untidy if the power cord exits from the wrong side. Locate the nearest outlet and decide how the cable will travel from the sign to the power source before approving the layout.
Ask where the wire will leave the acrylic backing. For wall installations, consider whether a cable cover or a concealed power connection is needed. Businesses should coordinate with an electrician if the proposed setup requires permanent wiring rather than a plug-in adapter.
Check the cable color and length too — a short black cable can be very noticeable against a wide white wall, and it's a much easier fix at the mockup stage than after installation.
11. Confirm Indoor or Outdoor Construction
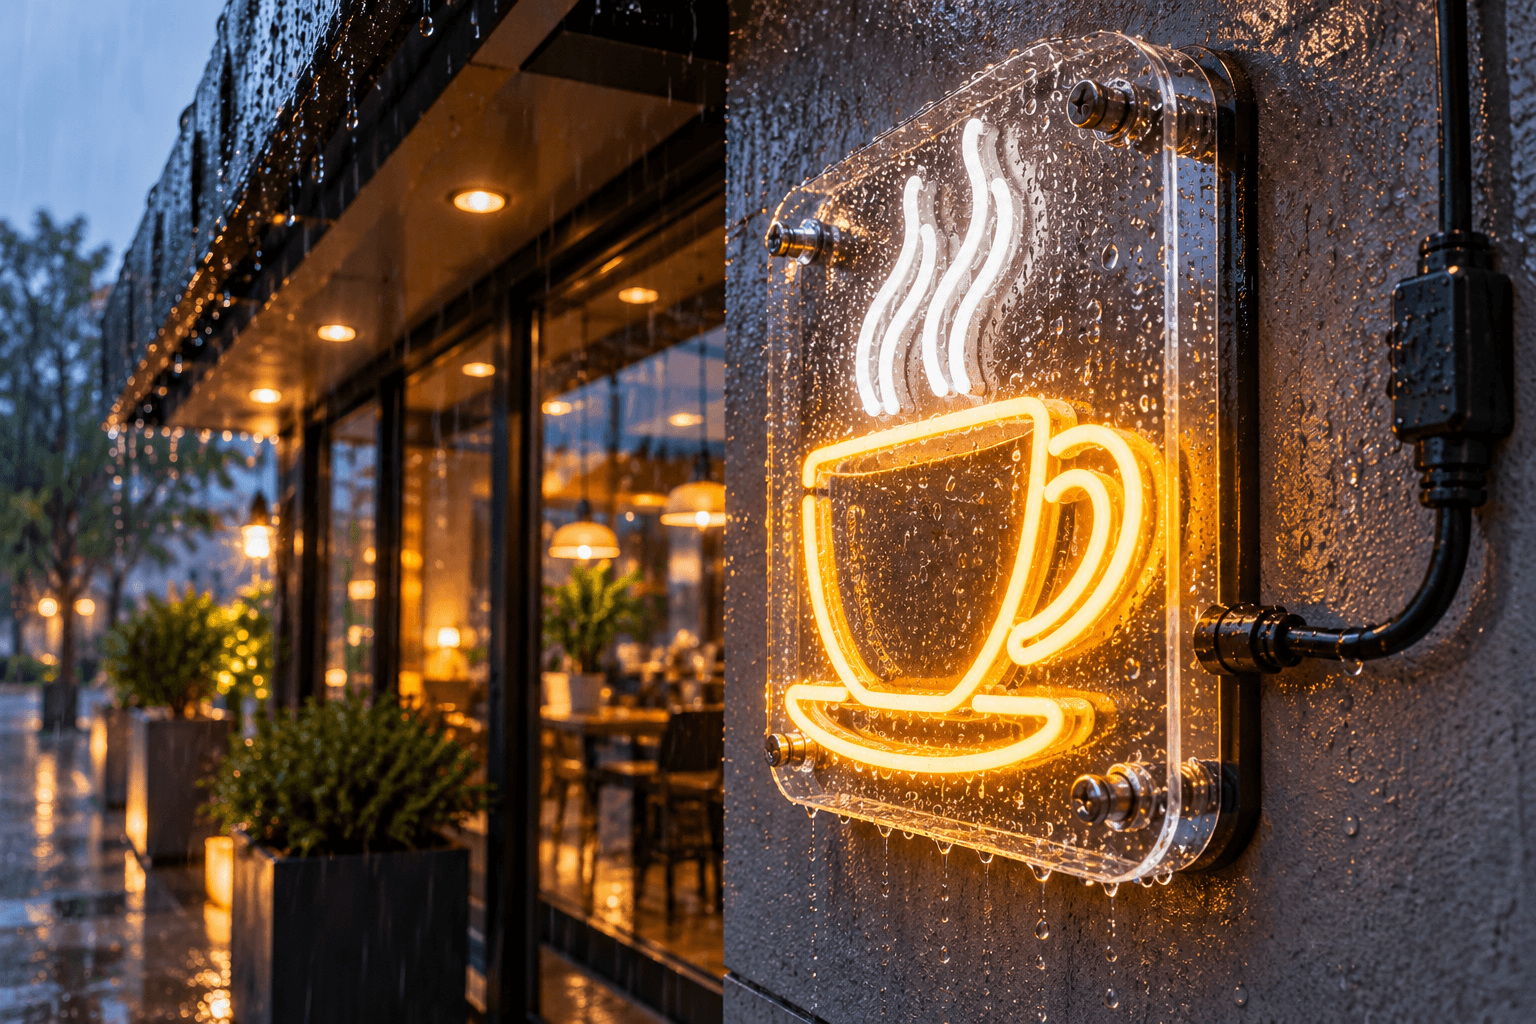
Tell NeonChamp exactly where the sign will be installed. "Covered outdoor area" can still involve moisture, dust, heat, cold, and daily temperature swings that a standard indoor build isn't rated for.
Standard indoor custom neon signs should not be placed outdoors unless the product has specifically been built for those conditions. Confirm weather resistance, adapter placement, cable protection, mounting hardware, and any restrictions in the warranty before approval, not after. If the sign is going outside a storefront, our outdoor LED open sign styles and placement guide is a useful reference for what actually holds up in exterior conditions.
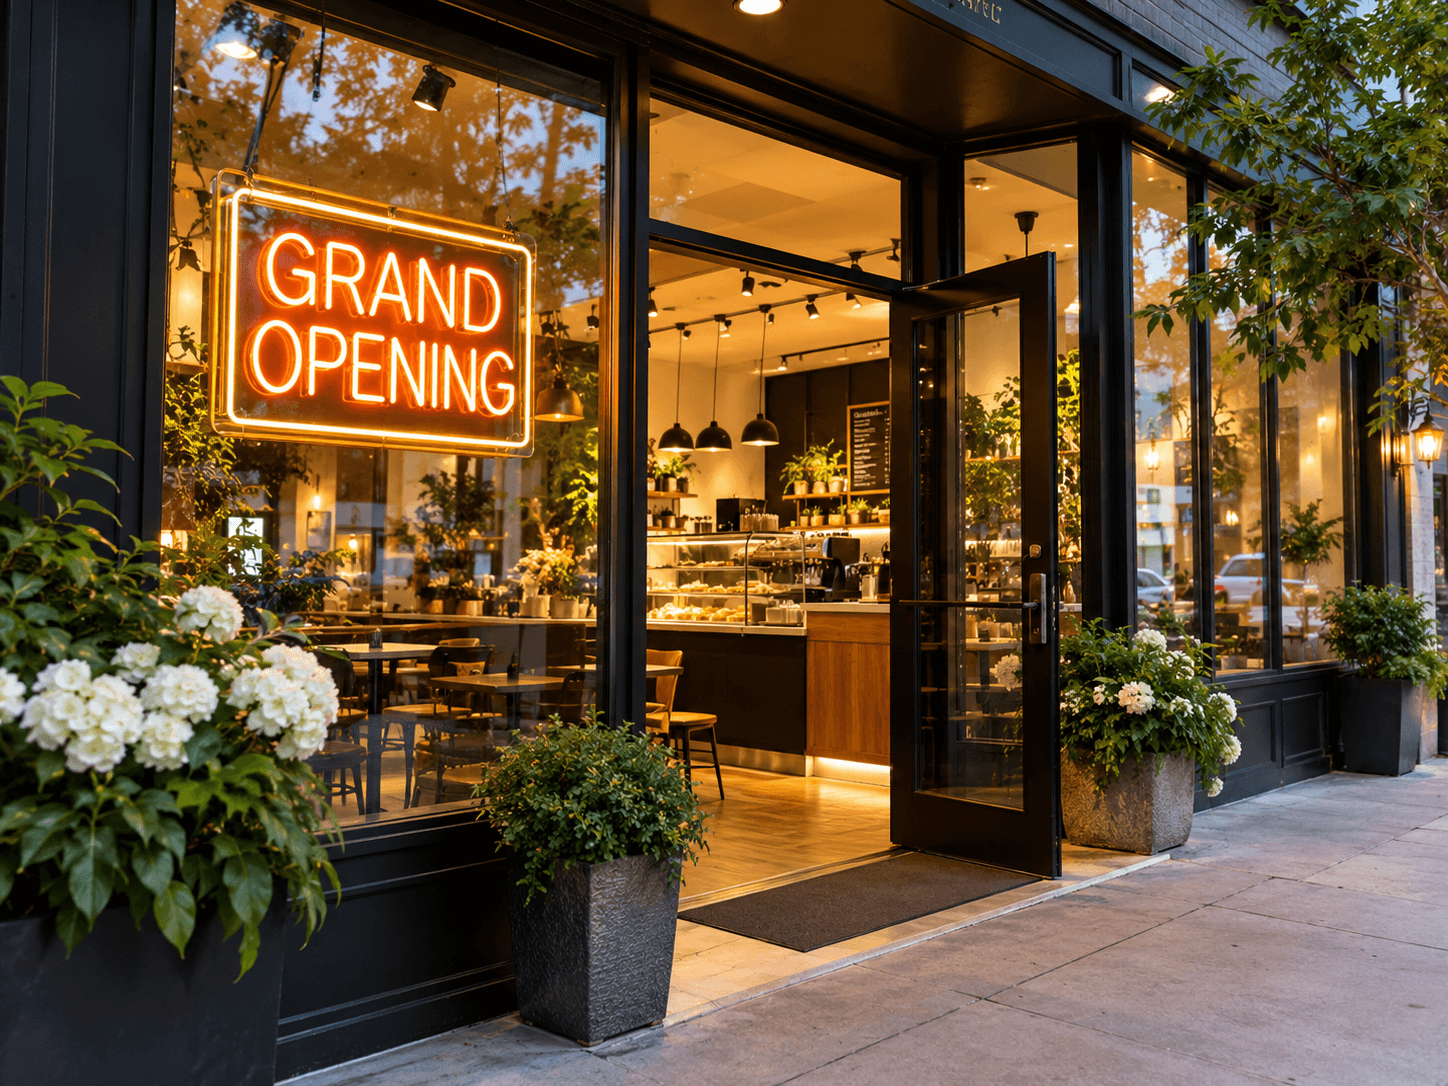
For a storefront specifically, determine whether the sign will sit inside the window or outside the building. These are two different installation conditions with different waterproofing needs, even though both are technically "at the storefront." This applies just as much to custom neon signs for restaurants as it does to retail storefronts, since both usually sit near a busy entrance.
12. Review the Final Order Specifications
Compare the mockup with the order confirmation before approving it. Check:
- Final size
- Text and spelling
- Font
- LED color
- Tube-jacket color
- Backboard shape and color
- Indoor or outdoor use
- Mounting method
- Cord position
- Remote and dimmer
- Quantity
- Delivery requirements
Save the approved proof and related emails. If the delivered product ever differs from the approved design, these records make it far easier to resolve the issue quickly.
What Happens After You Approve the Mockup
Once you approve, production typically starts right away — this is the point where a change stops being a quick edit and starts being a remake. Knowing what to expect after approval is part of making a confident buying decision, not just an afterthought:
- Production usually begins within 24–48 hours of approval, so any last-minute doubts should be raised before you click approve, not after.
- Revisions are free before approval but are rarely free once tubing has been bent and backboards cut, since those materials can't be reused for a different design.
- Adding complexity late — an extra color, a size increase, or a backboard change — can affect both cost and turnaround. Our guide on what affects the cost of a custom neon sign breaks down which changes move the price and by how much, so there are no surprises.
- If you don't respond to a proof within the stated review window, some orders move to production automatically — always confirm this policy for your specific order before you go quiet.
Common Mockup Approval Mistakes to Avoid
Most post-delivery complaints trace back to one of a handful of avoidable mistakes at the approval stage:
- Approving on a phone screen without zooming in on the text and edges.
- Assuming the size will "look about right" instead of taping out the actual dimensions on the wall.
- Skipping a second reviewer for names, dates, or business wording that's easy to misread once.
- Approving color without asking how it looks illuminated versus unlit.
- Not confirming indoor vs. outdoor construction in writing before installation.
If you're still earlier in the buying process and haven't placed an order yet, our complete custom neon sign buying checklist covers the decisions that come before the mockup stage, so you arrive at your first proof with fewer open questions.
Questions to Ask Before Approving the Mockup
Do not approve the proof if any information remains unclear. Ask NeonChamp:
- Is the mockup shown to scale?
- Are the stated measurements for the full backboard?
- Which details were changed from the uploaded artwork?
- What accessories are included?
- Will production begin immediately after approval?
- Can changes be made after approval?
- Is the selected design suitable for its installation area?
A reliable proof process is especially useful when ordering custom neon signs for a logo, storefront, personal name, or custom neon signs for weddings, where getting a name or date exactly right matters most. Once production starts, corrections may require a full remake rather than a simple file edit — which is exactly why this checklist exists.
Ready to Turn Your Artwork Into Neon?
A clear source file gives the design team a better starting point. Use a vector file when available, or submit the highest-resolution version of your artwork. Include the intended dimensions, installation location, preferred colors, and any details that must remain unchanged. If you'd like to see how artwork moves from file to finished sign, our step-by-step guide to how custom neon signs are made walks through the full production process. Haven't started your design yet? You can create a custom neon sign directly through NeonChamp before requesting your first mockup.
Upload Your Logo to NeonChamp, review the prepared mockup against this checklist, and approve production only when every specification is correct.
Get 25% OFF on All ProductsCode:NEON25View Offers!
Neon Collection50% OFF