
 we're online
How to Order a Custom Neon Sign Online: Step-by-Step Guide
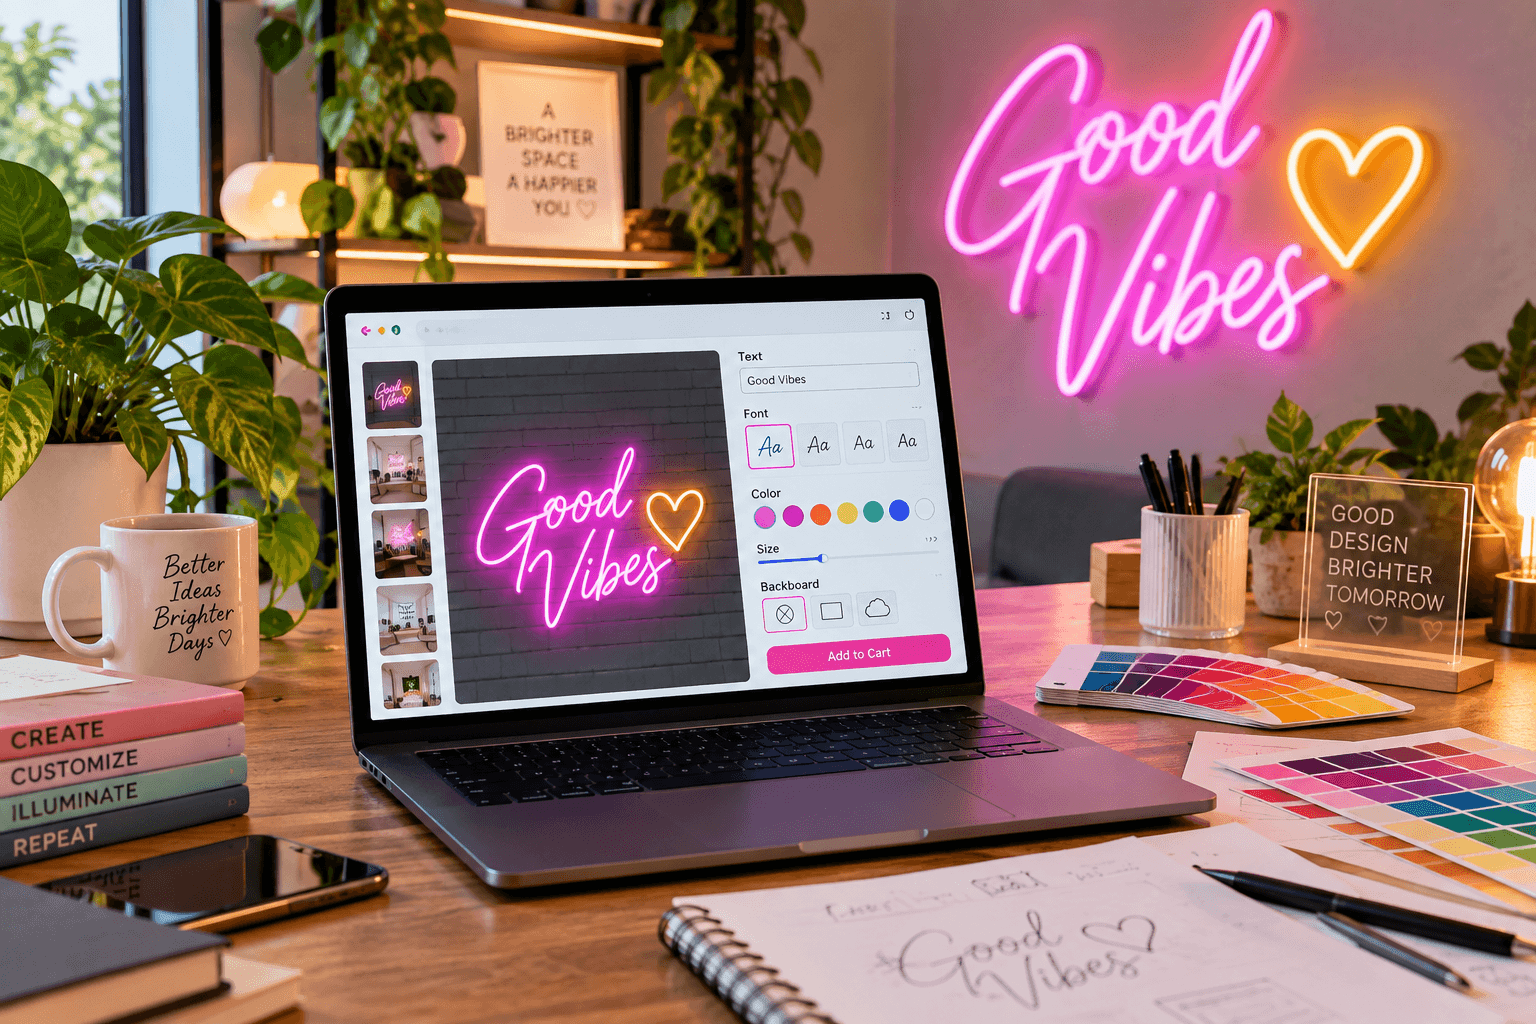
When you order a custom neon sign online, you control its wording, font, color, dimensions, backing, and installation options without visiting a local sign shop. The process usually begins with an online customizer or uploaded design and ends with proof approval, production, delivery, and installation.
Knowing what happens at each stage can help you avoid spelling errors, select the right size, and receive a sign that matches your intended space. Here is the full ordering process, from the first design idea to switching on your completed sign.
6-Step Ordering Process at a Glance
|
Step |
What Happens |
Key Action |
|
1. Decide the content |
Choose text, logo, image, or a combination |
Confirm spelling and wording before designing |
|
2. Customize it |
Use a design tool or upload artwork |
Test fonts, colors, and sizes against your wall |
|
3. Approve the proof |
Review the digital mockup in detail |
Check every dimension and spelling before signing off |
|
4. Choose backing and add-ons |
Select backing shape, mounting, and extras |
Match the mount to your wall and viewing needs |
|
5. Place the order |
Pay and track production |
Save the order number and approved proof |
|
6. Receive and install |
Unbox, test, then mount the sign |
Test lighting before final mounting |
Step 1: Decide What You Want the Sign to Say or Show
Begin by deciding whether you want a text-based sign, logo, image, or combination design. Your choice determines which ordering route you should use.

An online design tool is usually suitable for:
● Names and initials
● Short quotations
● Business taglines
● Birthday messages
● Simple text-based signs
Upload your artwork or request design support if you need:
● A detailed illustration
● A handwritten signature
● A mascot or branded symbol
● Multiple colors in one design
● A combination of printed artwork and LED lighting
Keep the sign's viewing distance in mind. Thin, closely spaced letters may be difficult to read from across a room. A short message can often be made larger and clearer within the same overall width.
Check spelling, capitalization, and punctuation before moving forward. The manufacturer will usually produce the text shown in your approved proof, including any errors.
If you are still finalizing the requirements, review a custom neon sign buying checklist before beginning the design.
Step 2: Use an Online Design Tool to Customize It
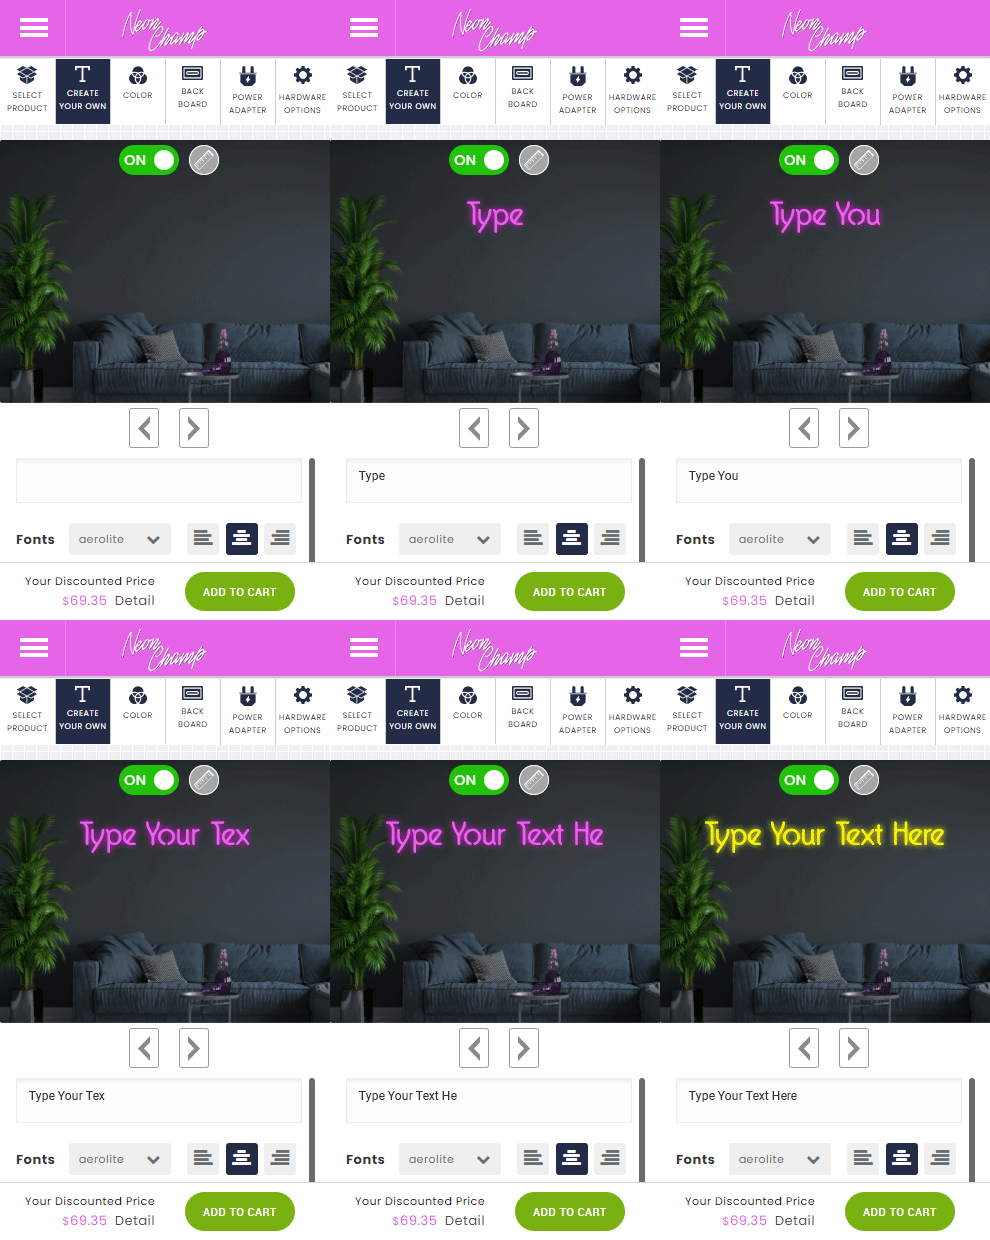
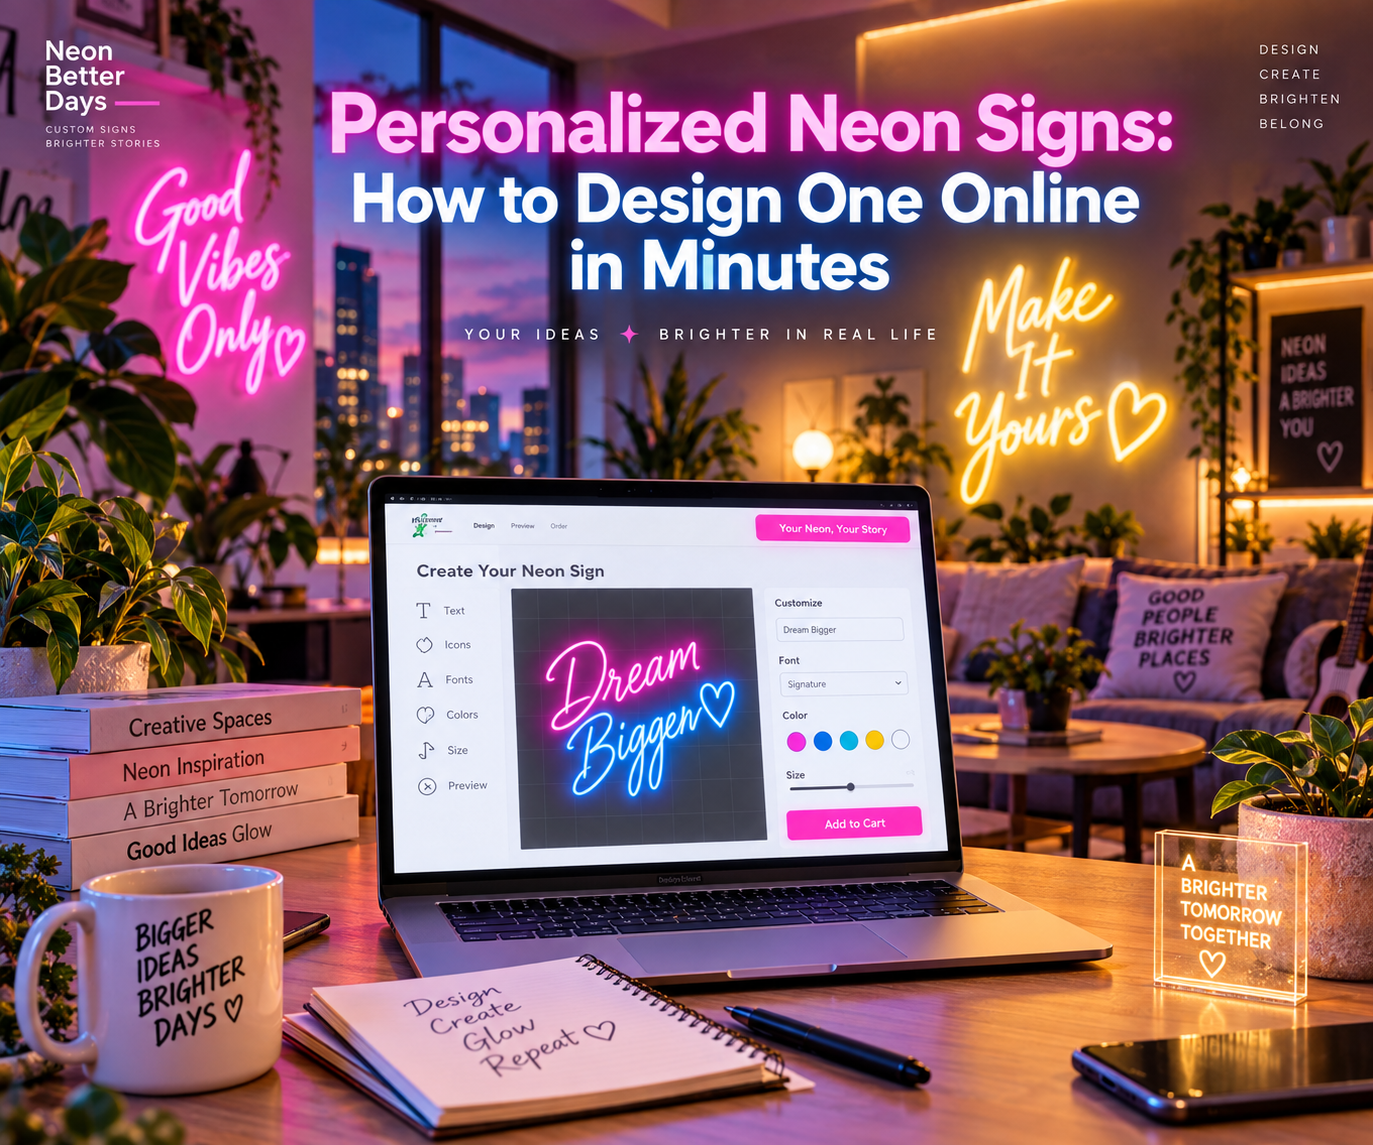
Most reputable sellers of neon signs online offer a live design tool or a quote form. A customizer is helpful for text designs because it can show how the wording changes with different fonts, colors, and sizes.
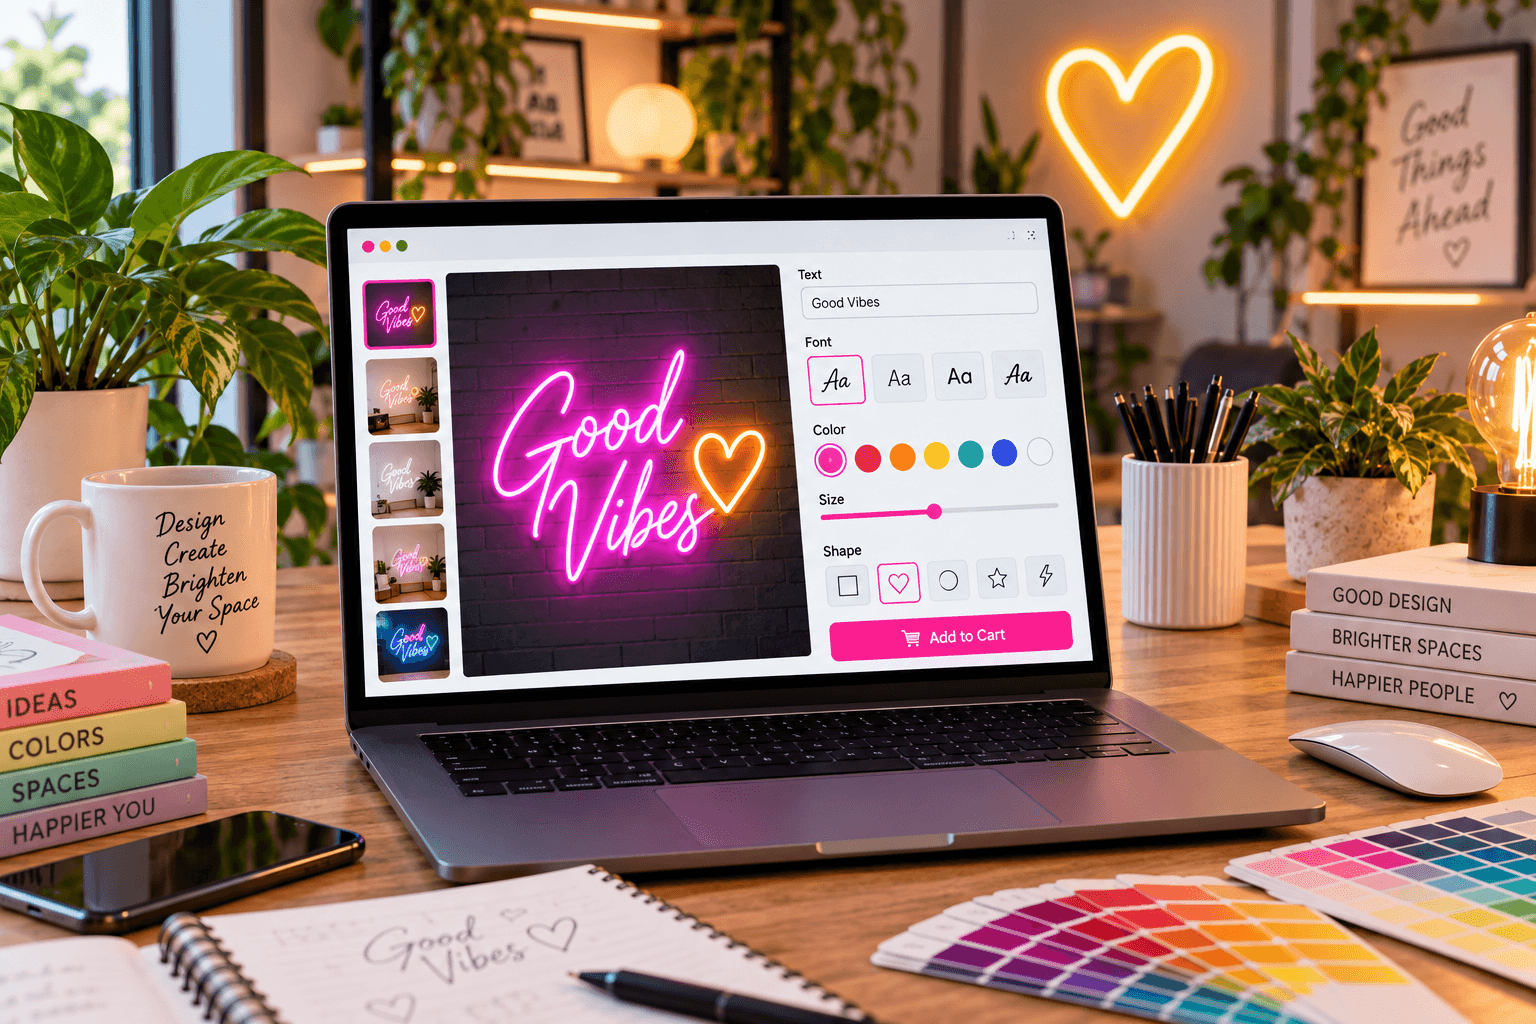
To create your own neon sign, enter the wording and test several combinations. The tool may update the preview and estimated price as you make changes.
For logo signs or artwork that the customizer cannot recreate, upload a clear file and include written instructions. Vector files such as SVG, AI, EPS, or PDF are often preferred for logos because they preserve clean lines when resized. A large PNG may also work if it has a transparent background and clear edges. See the best file format for a custom neon logo sign if you are unsure which to submit.
Provide these details with an uploaded design:
● Intended wording or logo
● Required width and height
● Preferred LED colors
● Indoor or outdoor placement
● Installation surface
● Needed delivery date
● Cable placement preference
● Any areas that should not be illuminated
Choosing Font, Size, and Color Live
The font affects readability, price, and the overall dimensions. Script fonts create a flowing appearance for weddings, bedrooms, and personal messages. Block fonts can be easier to read for storefronts, offices, gyms, and event displays.
Choose a size based on the installation area rather than the lowest available price. Measure the wall, mark the estimated width with painter's tape, and view it from the normal viewing distance.
Consider these size factors:
● Available wall width
● Distance from the viewer
● Number of letters
● Furniture beneath the sign
● Surrounding decorations
● Indoor or outdoor placement
Color also changes how the sign feels in the room. Warm white can create a softer appearance, whereas cool white produces a brighter, cleaner look. Red, pink, blue, green, orange, and purple can support a brand palette or decorative theme.
Some colors look different when the sign is switched off. Check product images showing the tubing under illuminated and non-illuminated conditions.
Use the online neon design tool to test these options before submitting the design.
Step 3: Review and Approve Your Digital Proof
A digital proof or mockup shows how the manufacturer plans to build the sign. It may include the dimensions, letter arrangement, colors, acrylic backing, and price. Our mockup approval checklist is a useful reference for this step.
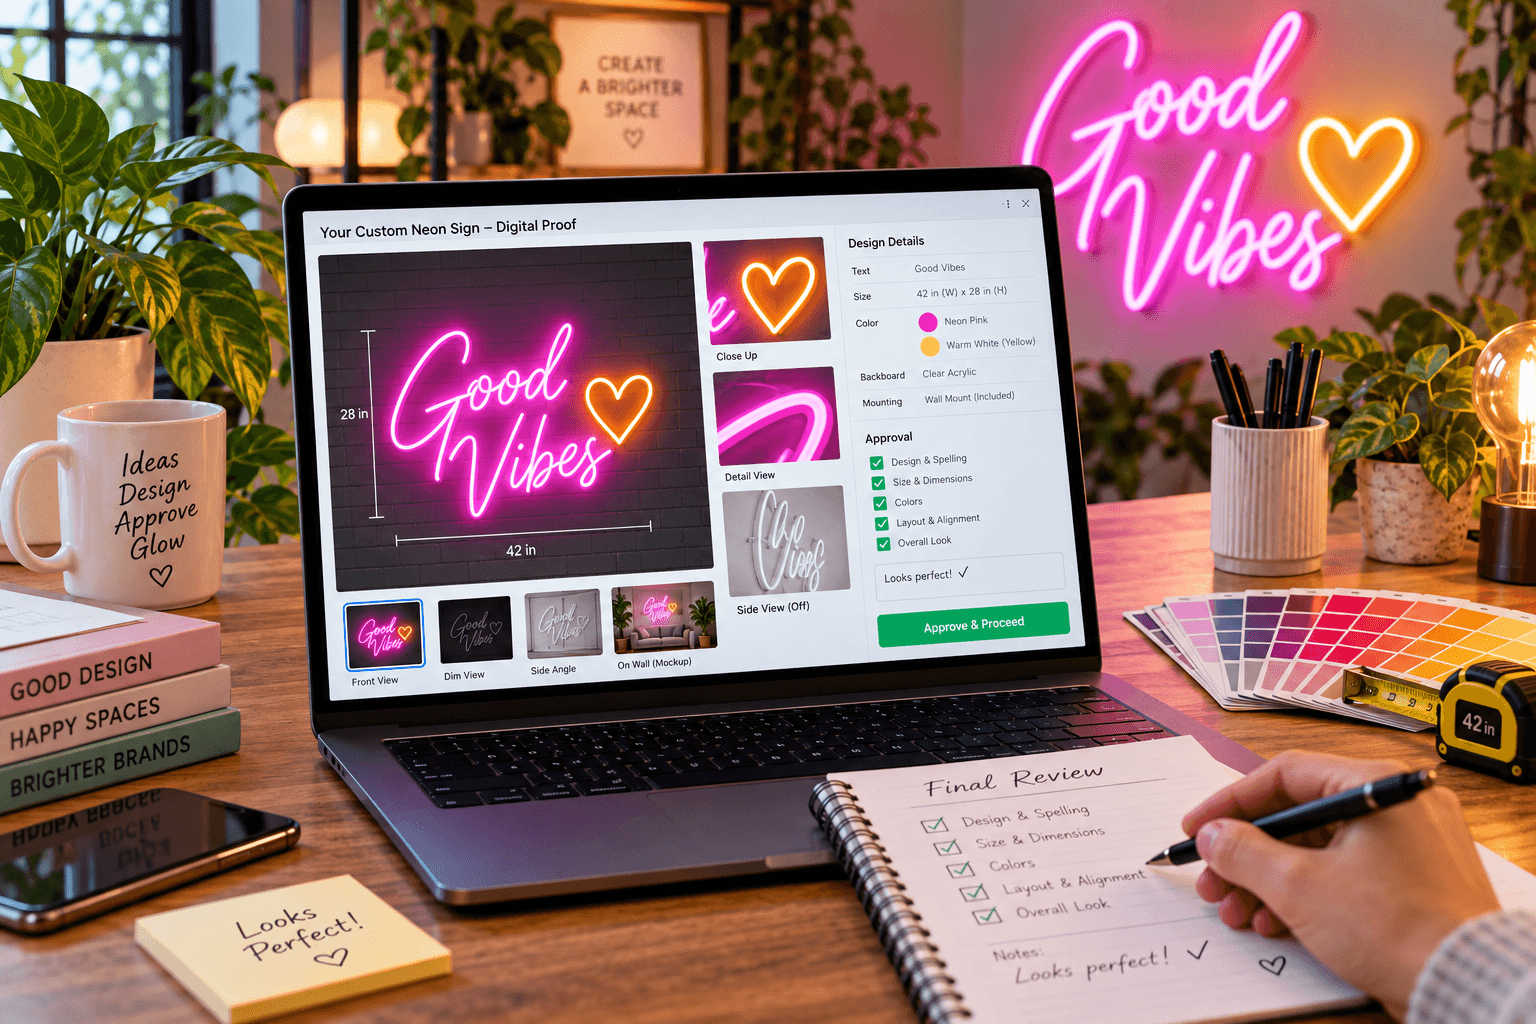
Do not approve the proof after a quick glance. Check every detail carefully:
● Spelling and punctuation
● Font and letter shape
● Finished width and height
● LED color
● Logo proportions
● Spacing between design elements
● Acrylic backing shape
● Mounting-hole position
● Cable exit point
● Power adapter type
● Indoor or outdoor specification
Compare the dimensions in the proof with your wall measurements. A mockup may appear large on a screen but have smaller real-world dimensions than expected.
Request revisions if the text looks crowded, a logo appears distorted, or the proposed LED path changes an important part of the artwork. Ask whether revisions are included and whether a design change will affect the price.
Approval matters because custom LED neon signs are made to order. Changes may not be possible once manufacturing begins. Save a copy of the final approved proof and all written specifications.
Step 4: Choose Backing, Mounting, and Add-Ons
LED neon flex is commonly attached to an acrylic backboard that supports the design and provides mounting points.
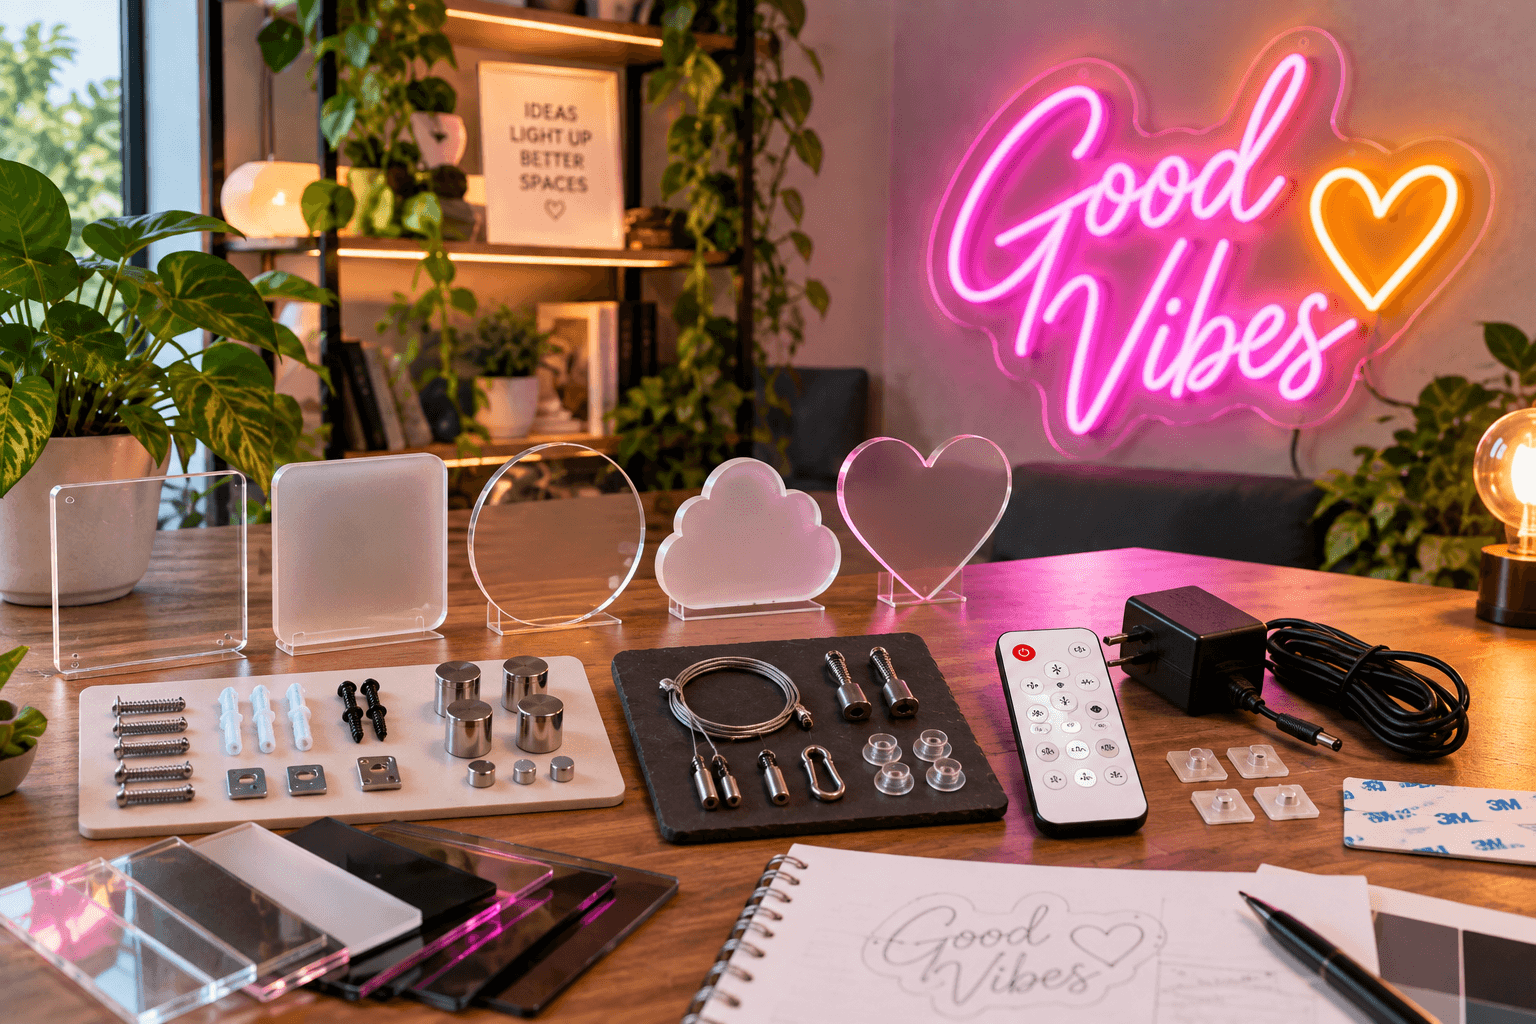
Common backing shapes include:
● Cut to shape: acrylic follows the outer form of the full design
● Cut to letter: acrylic is trimmed closely around individual letters or sections
● Rectangular: the design is mounted on one rectangular acrylic panel
Backing Shape Comparison
|
Backing Type |
Description |
Best For |
|
Cut to shape |
Acrylic follows the outline of the full design |
A balanced look with some visible backing edge |
|
Cut to letter |
Acrylic trimmed closely around each letter or section |
A minimal, floating appearance |
|
Rectangular |
Design mounted on one rectangular panel |
A clean, uniform frame for logos or text blocks |
For a deeper look at how these two cutting styles compare, see cut-to-shape vs. cut-to-letter neon sign backboards.
Clear acrylic keeps attention on the illuminated design. Black or white backing can create stronger contrast, and printed backing may include additional graphics.
Choose a mounting method that suits the surface and location. Options may include wall screws, standoffs, hanging chains, wires, or sign-mounting kits. Confirm what comes with the order and which tools you will need.
Useful add-ons may include:
● Remote control and dimmer
● Extended power cable
● Outdoor-rated construction
● Hanging kit
● Wall-mounting hardware
● Colored or printed backing
● Portable stand
● Additional power adapter
A dimmer is useful when the sign will be installed in a bedroom, restaurant, photography area, or event venue. Outdoor placement requires construction made for exposure to moisture, so do not assume an indoor sign can be used outside.
Step 5: Place Your Order and Track Production
Review the entire order before paying. Confirm the approved design, dimensions, backing, accessories, shipping address, and estimated arrival date.
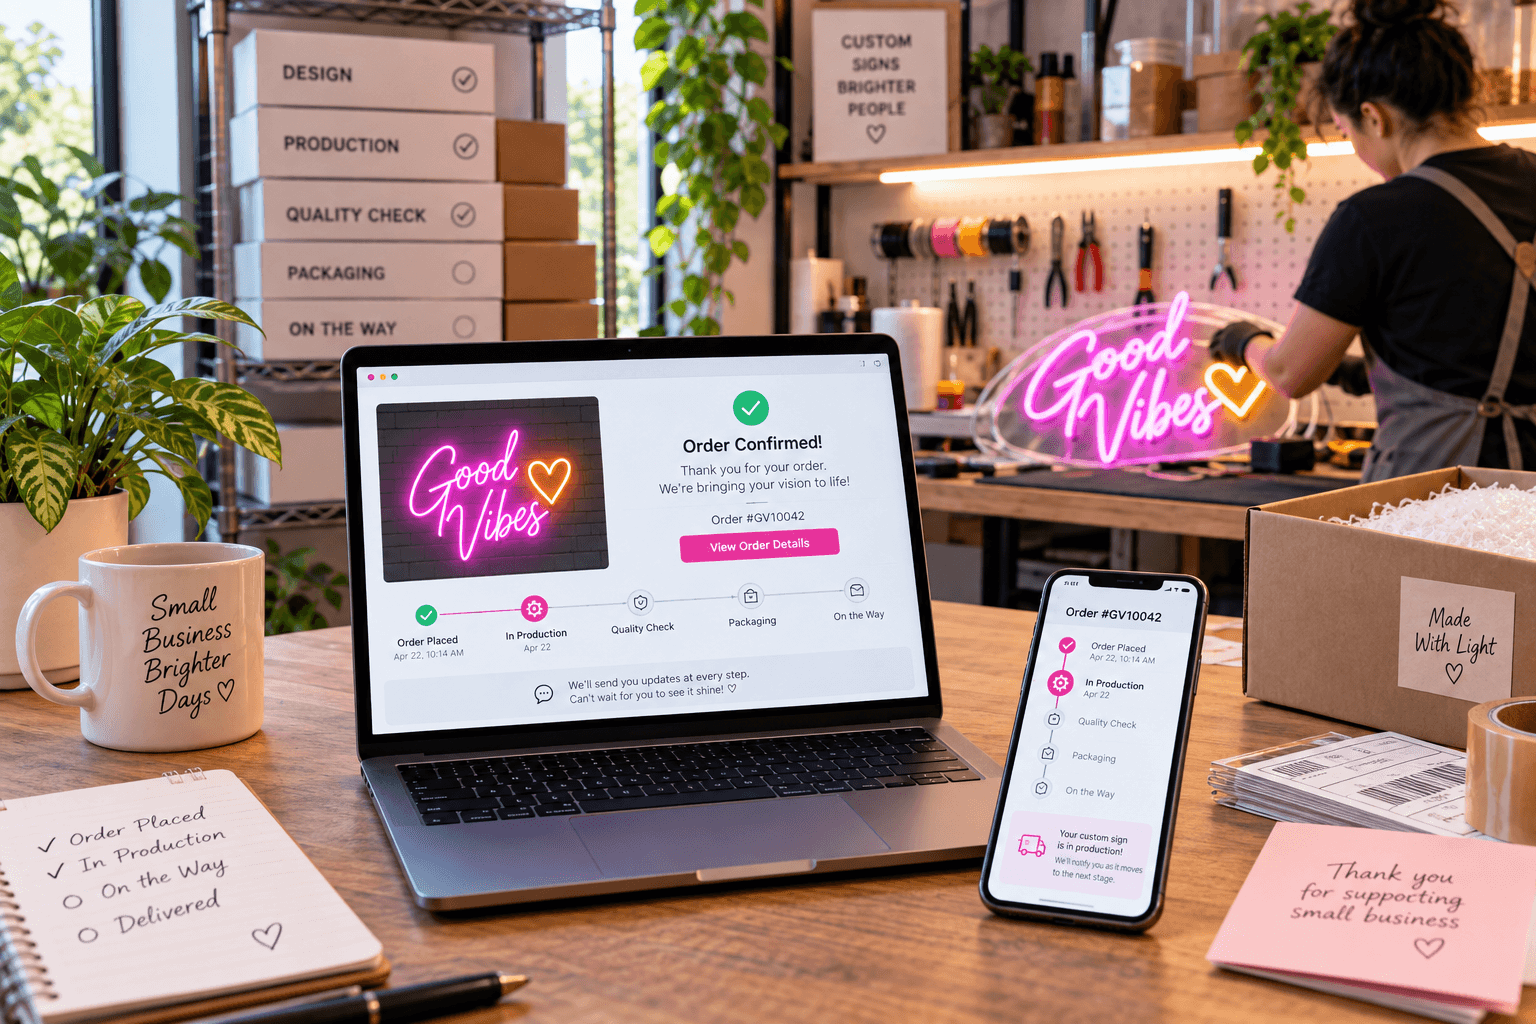
The final price may depend on:
● Width and height
● Number of letters
● Design complexity
● LED colors
● Backing style
● Outdoor construction
● Mounting accessories
● Shipping speed
Read the custom neon sign cost breakdown if you want to understand how these choices affect the total.
After payment, you should receive an order confirmation or invoice. Keep the order number and approved proof together. If the seller provides an account dashboard, use it to check production and shipment updates.
A typical production process may include design confirmation, LED bending and assembly, wiring, backing preparation, electrical testing, quality inspection, and packaging. Contact support with your order number if an update is overdue.
Step 6: Delivery, Unboxing, and Installation
Inspect the shipping box before opening it. Photograph any visible dents, tears, or crushed corners in case you need to report transit damage.
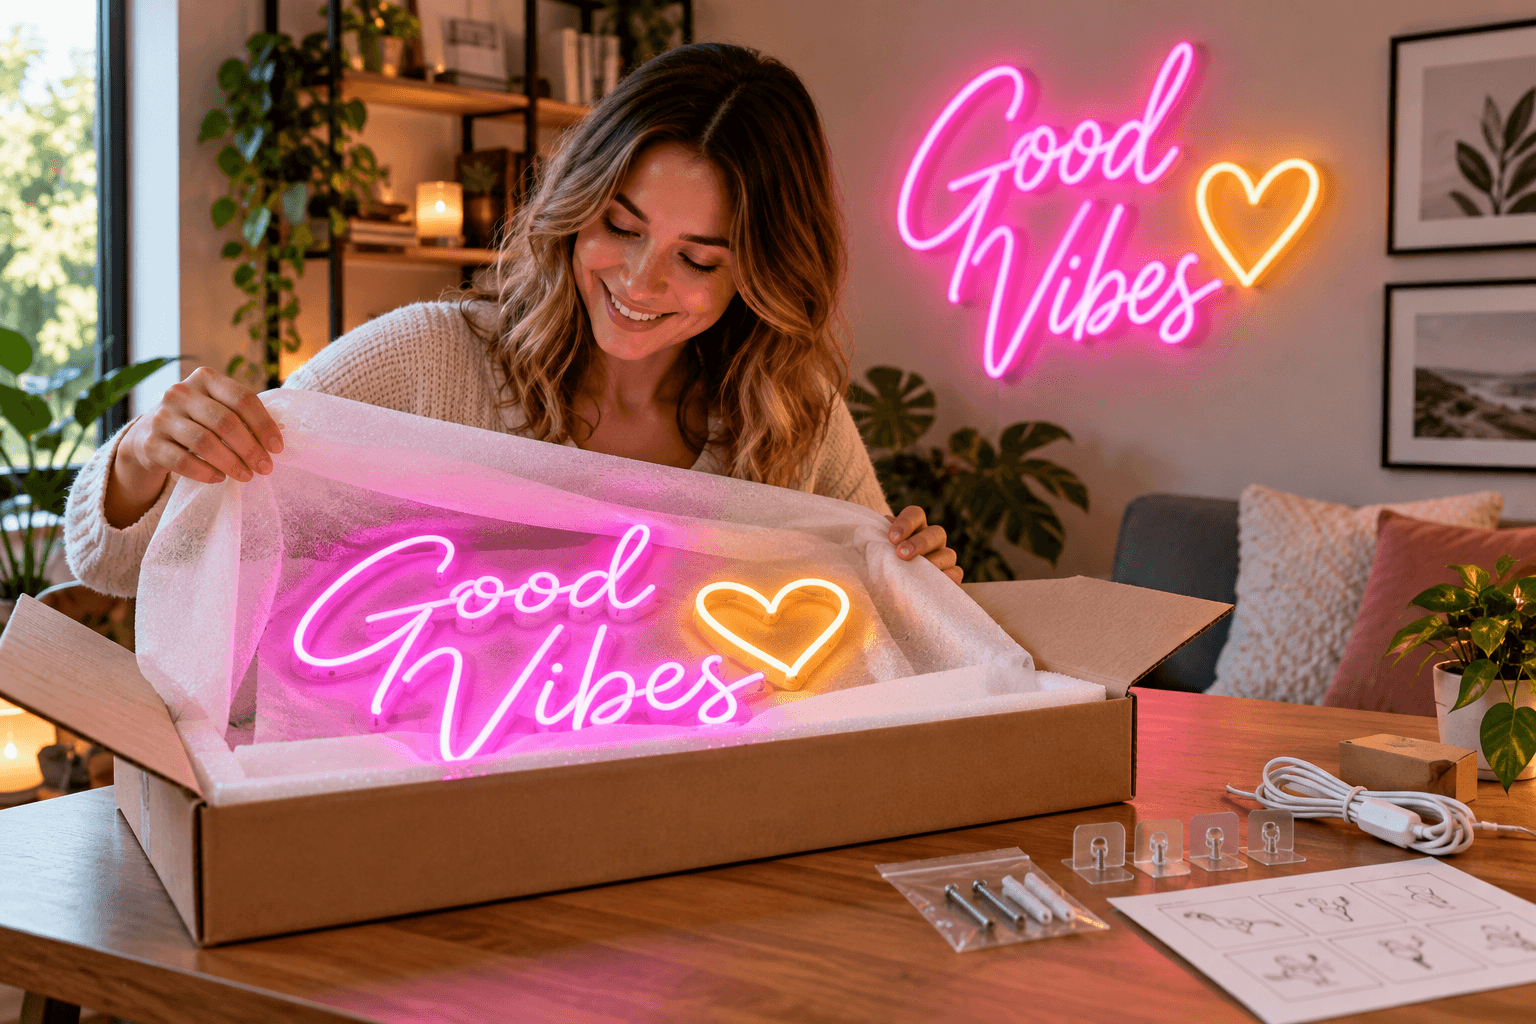
Unbox the sign on a clean, flat surface and keep the packaging until you have tested everything. Confirm that the package contains:
● The completed sign
● Power adapter
● Remote and dimmer, if selected
● Mounting hardware
● Installation instructions
● Other ordered accessories
Check the acrylic for cracks, verify that the wiring is secure, and compare the finished sign with the approved proof. Connect the sign to the supplied adapter and test the lighting before mounting it.
Follow the manufacturer's installation instructions, or see this step-by-step guide to installing neon light for the full process. Use hardware suitable for the wall material and the sign's weight, and keep the power cable away from water, sharp edges, and high-traffic areas.
For a large or heavy sign, ask another person to support it during installation. Commercial installations may require help from a qualified installer or electrician, especially when wiring must be concealed or connected to a fixed power source.
How Long Does the Whole Process Take?
Most custom neon orders take about one to three weeks from design submission to delivery. The schedule includes proof preparation, customer revisions, production, quality checks, and shipping.
Simple text signs may move through production faster than large logos or designs with several colors and detailed shapes. Delivery may also take longer during holiday periods or when the destination is far from the production facility.
NeonChamp currently states that standard delivery generally takes one to two business weeks, with express delivery available in about six to seven business days. These estimates can change based on location, demand, design complexity, and how quickly the customer approves the proof, so confirm the current timeline before ordering.
If you need the sign for an event, provide the required date before paying. Leave extra time for revisions, shipping delays, and installation rather than arranging delivery immediately before the event.
FAQs
Where can I order a custom neon sign online?
You can order a custom neon sign online from a reputable LED neon company that offers a design tool, uploaded-artwork option, digital proof, secure checkout, and written warranty. NeonChamp allows customers to customize and order online with a preview or design proof before production.
Can I see a preview of my neon sign before it's made?
Yes, reputable custom neon companies provide a digital proof or mockup showing the text, colors, dimensions, backing, and layout before manufacturing begins. Check every detail and request corrections before approving it, because changes may not be possible once production starts.
How long does it take to receive a custom neon sign after ordering?
Most custom neon signs arrive within one to three weeks after the design is approved, although timing varies by size, design complexity, production demand, shipping method, and destination. Ask for separate production and delivery estimates before ordering if the sign is needed for a fixed event date.
Get 25% OFF on All ProductsCode:NEON25View Offers!
Neon Collection50% OFF